The sealing of your bathroom is crucial to prevent long-term damage from moisture. Whether you are installing a new bathroom or renovating an existing one, careful waterproofing is essential. This guide will walk you through the steps to properly waterproof walls, floors, plumbing fixtures and shower corners. Thorough preparation and the use of specific waterproofing materials are the key to a safe and dry bathroom.
Step 1: Preparation is everything
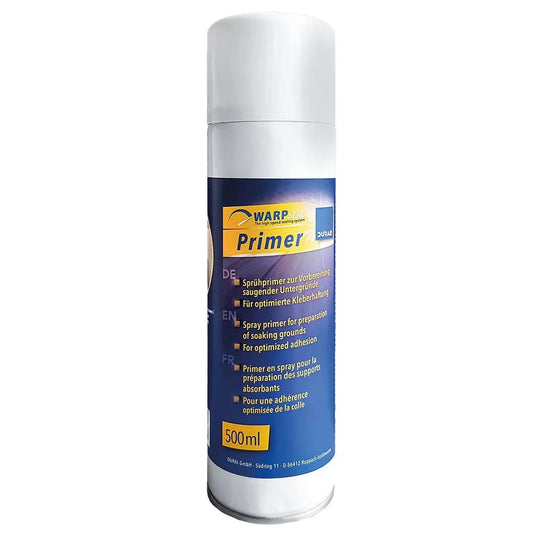
First of all, the substrate must be clean, dry and free of loose particles. Remove dust, dirt and grease that could impair adhesion. Cracks and unevenness should be repaired before applying the waterproofing. If necessary, repair the substrate with a suitable repair compound to ensure a level surface. Then apply a suitable primer to improve the adhesion of the waterproofing membranes. Allow the primer to dry according to the manufacturer's instructions.
Step 2: Material selection
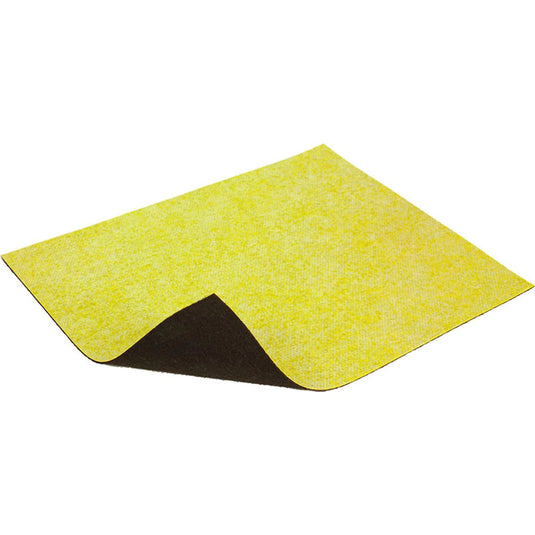
Choose suitable sealing materials based on the area of application and the specific requirements of your bathroom. In this article, we will focus on sealing with sealing mats.
Step 3: Laying the waterproofing membranes on the floor
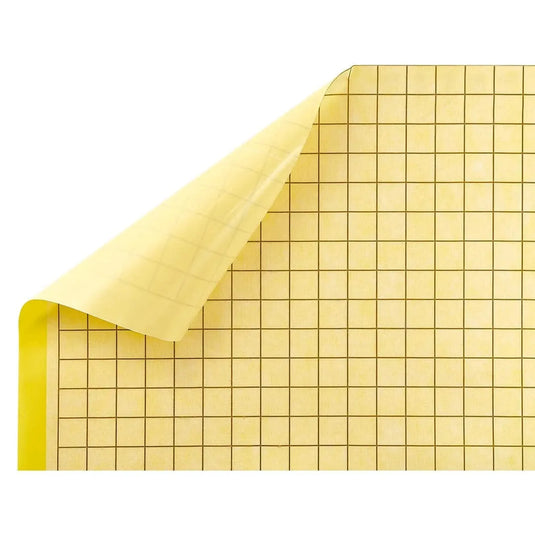
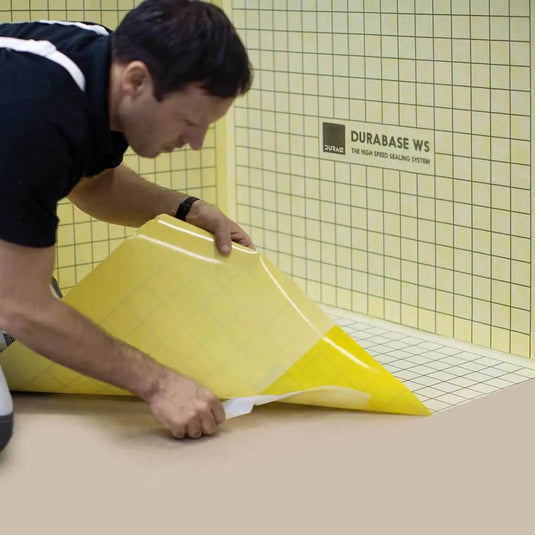
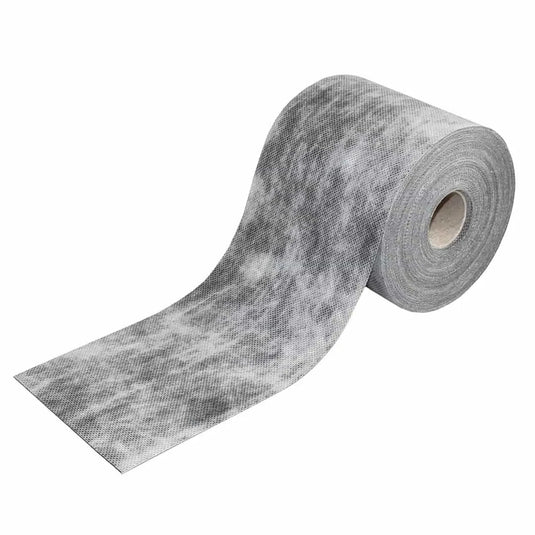
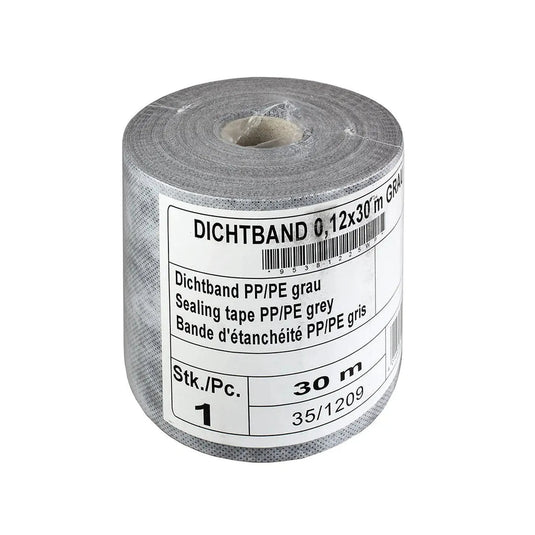
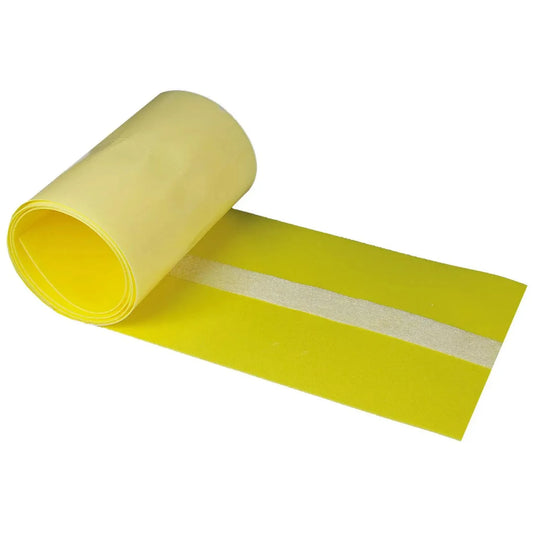
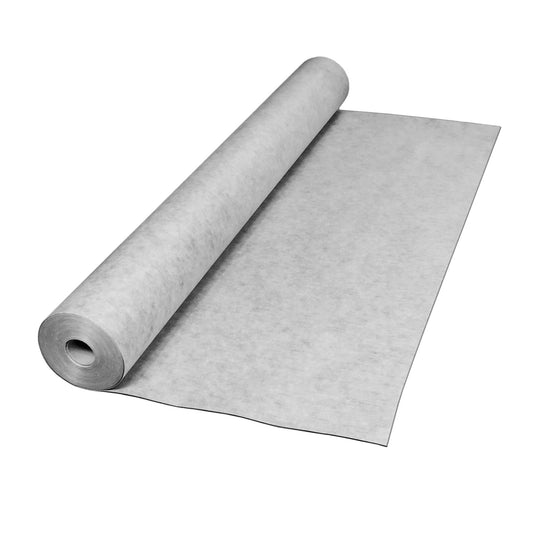
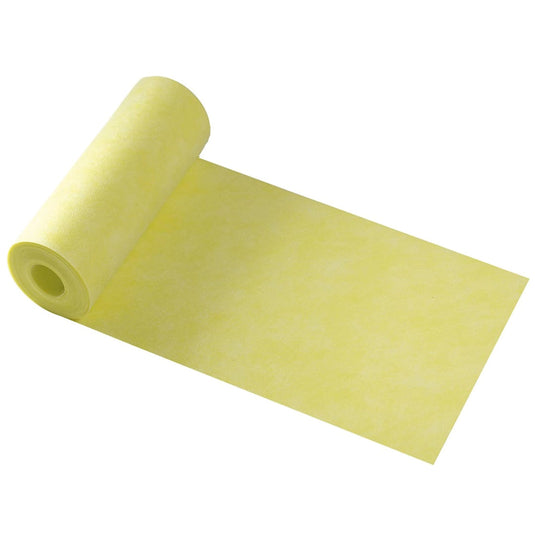
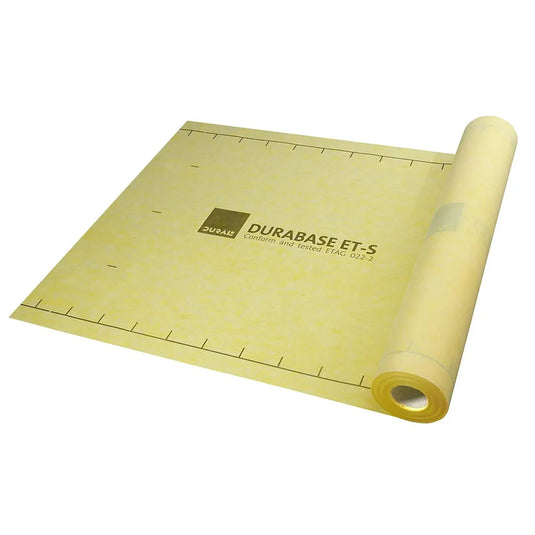
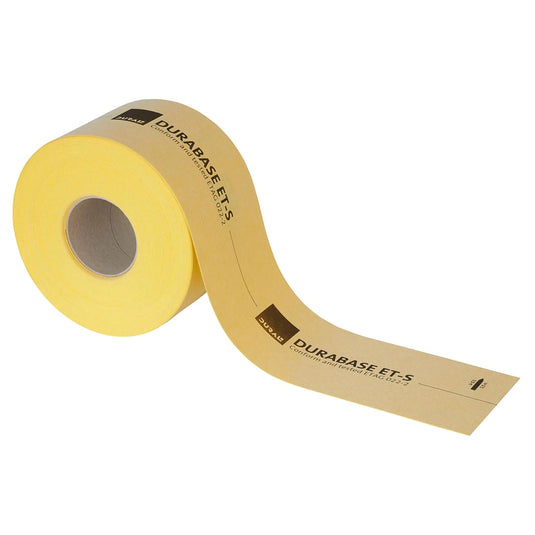
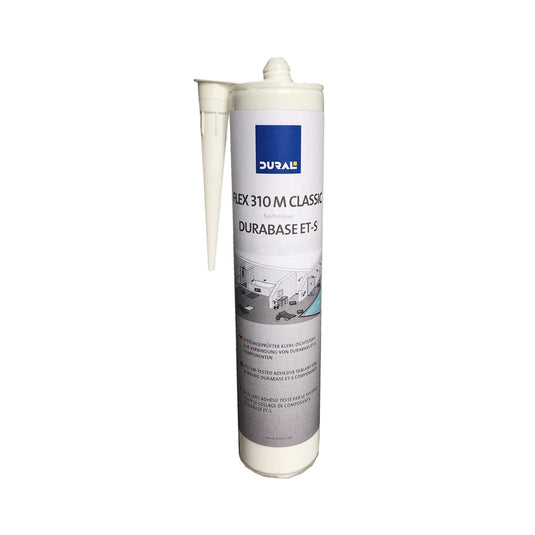
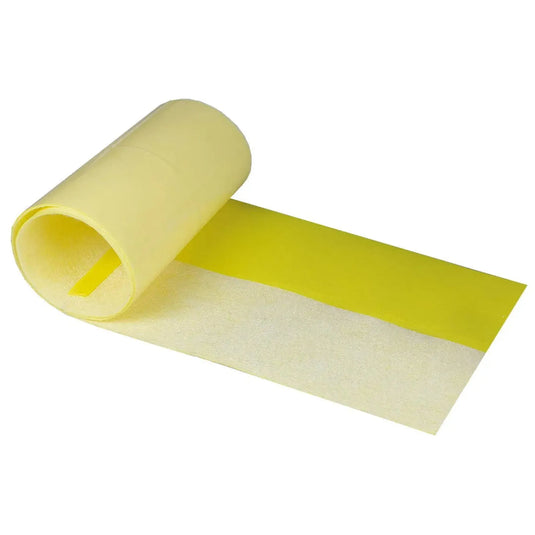
Measure out the sealing strips and cut them to the required size. Allow for overlaps of at least 5 cm at the joints. Apply tile adhesive to the properly prepared and primed substrate in sections using a 4 x 4 mm notched trowel. Place the cut-to-size sealing membrane on the adhesive and press down firmly. Use a roller or a smooth tool to remove any bubbles and creases. Lay the membranes with an overlap of at least 5 cm. The overlap must be sealed watertight with polymer adhesive ET-S. If you are laying strips edge to edge, you should seal them watertight with ET-S sealing tape and DURAL ET-S adhesive sealant.
Step 4: Laying the waterproofing membranes on the walls
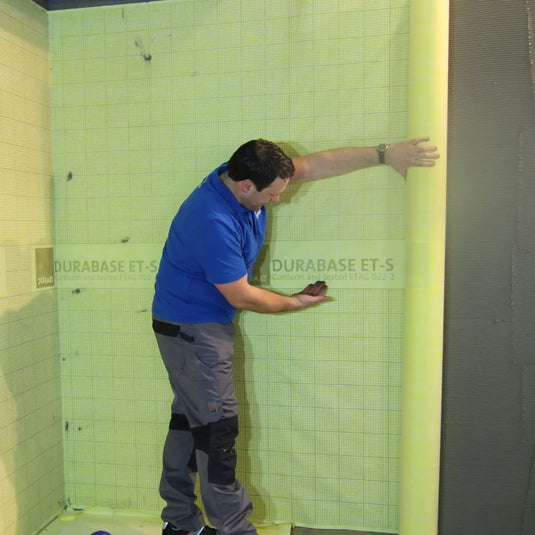
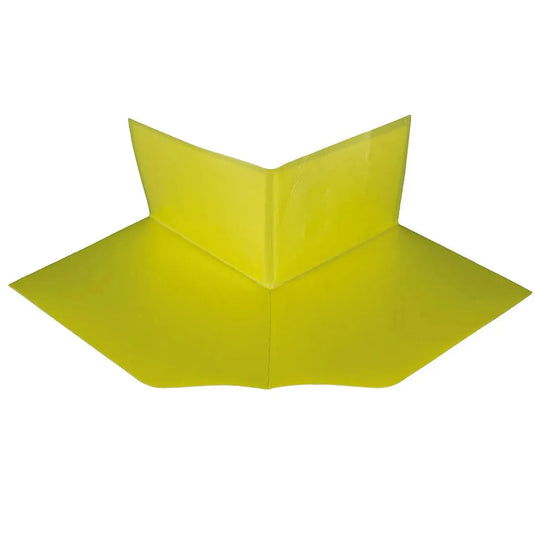
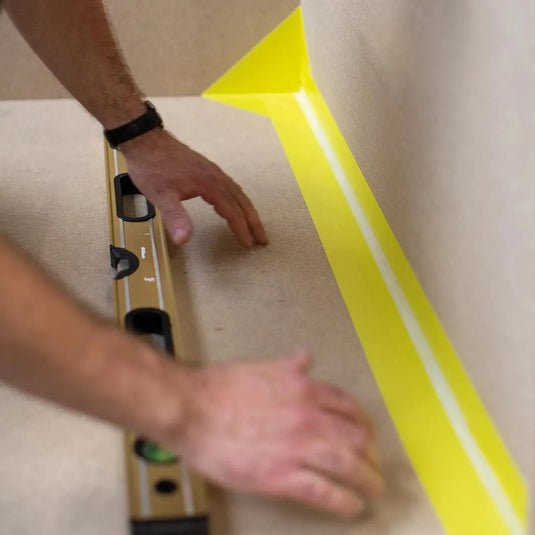
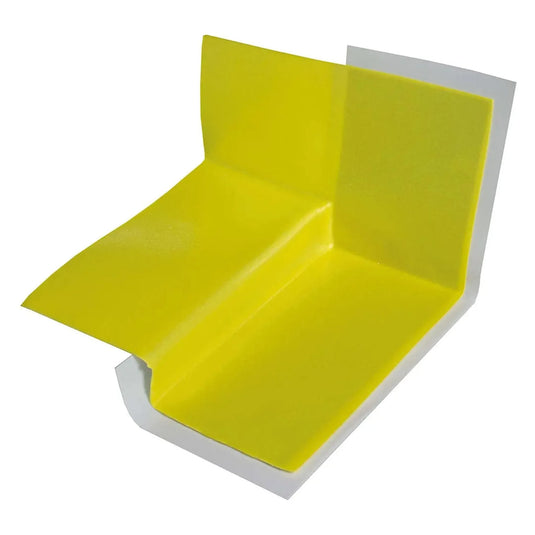
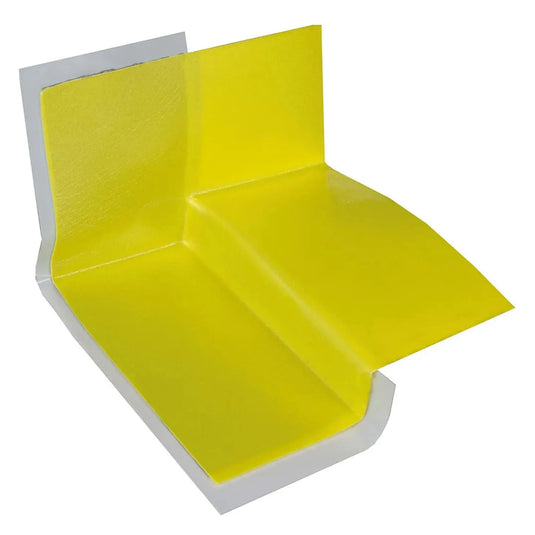
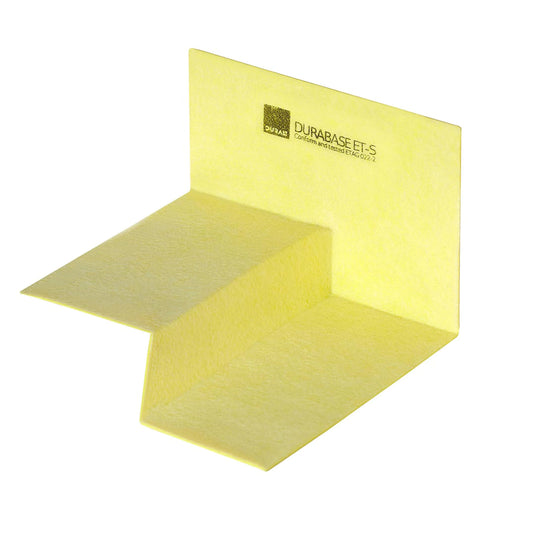
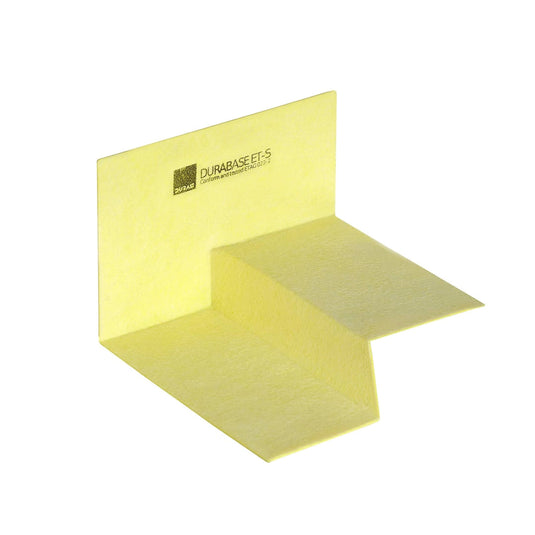
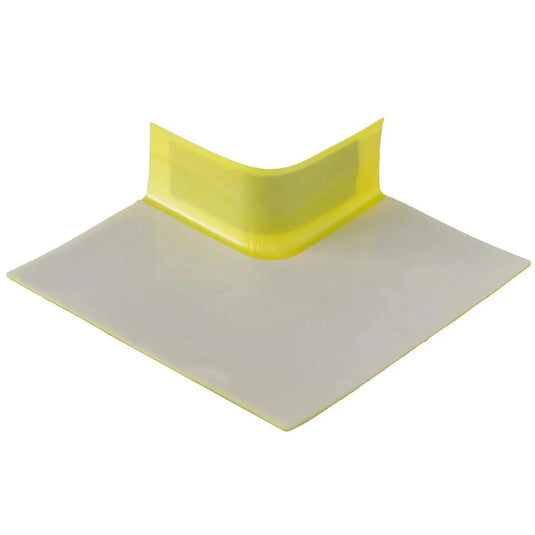
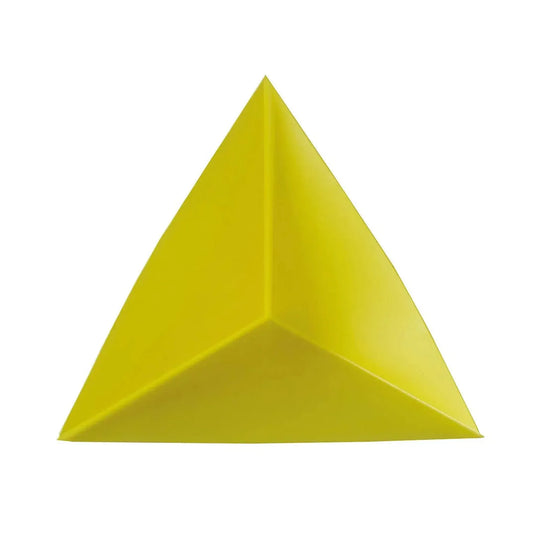
Repeat the cutting and gluing process as for the floor strips. Ensure that the strips overlap at the top and bottom as well as at the side edges. Smooth the strips onto the wall and ensure that no air bubbles or creases are trapped. Use special ET-S sealing corners (inner and outer corners) to ensure complete sealing in the corners. These should also be pressed firmly into place and laid without creases.
Step 5: Sealing around plumbing fixtures
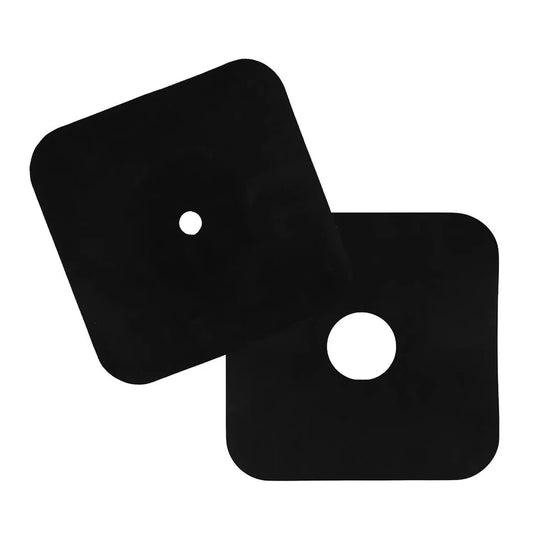
Use ET-S pipe collars on all penetrations for water pipes and drains. The sealing collars are laid in a similar way to the sealing membranes. Ensure that there is an overlap of at least 5 cm and that the seal is made with Flex 310 M Classic.
Step 6: Laying the tiles
Go over the entire surface and check that all areas are properly sealed and that there are no gaps or unsealed areas. A major and valuable advantage of sealing membranes is that there is no waiting time and you can lay the tiles directly onto the membrane using the thin-bed method.
