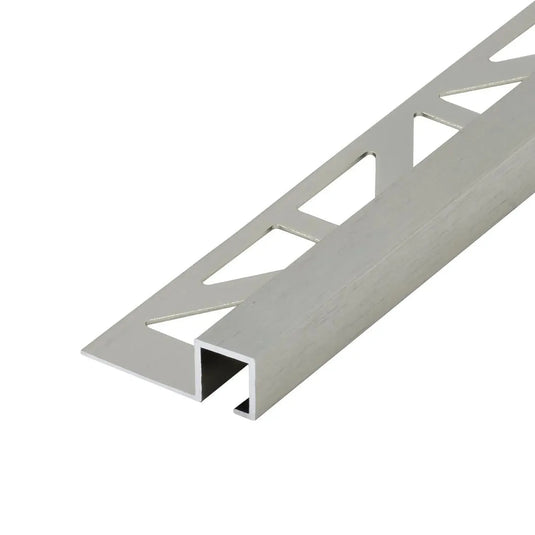
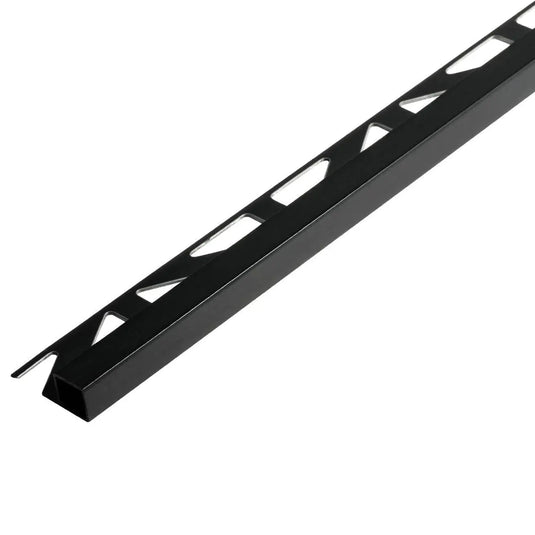
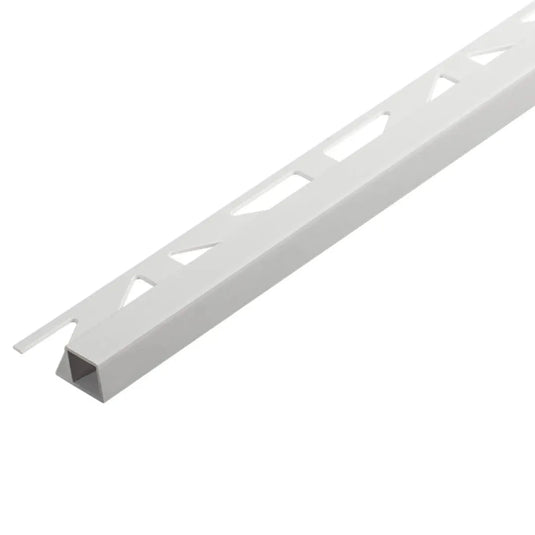
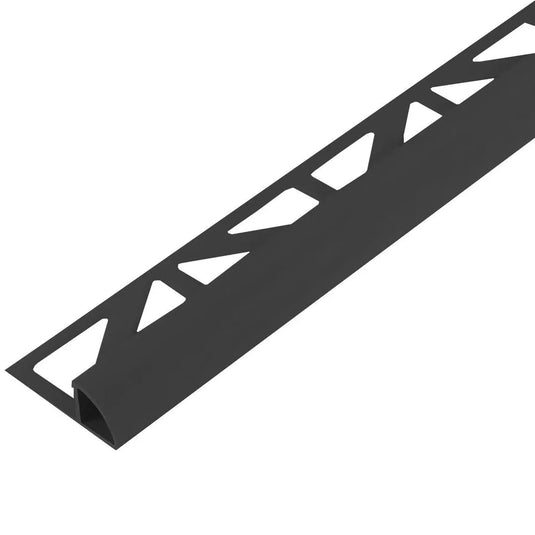
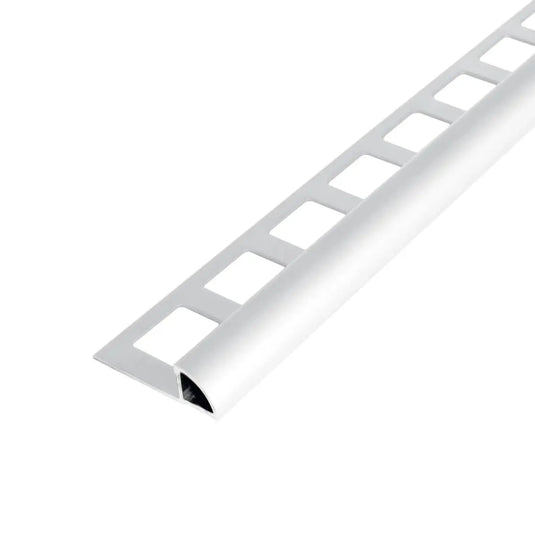
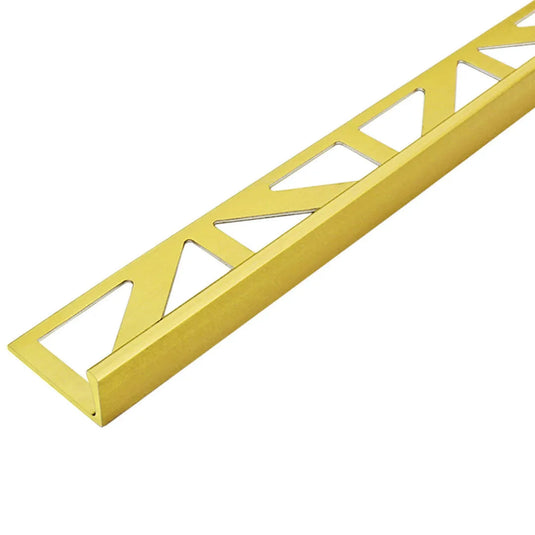
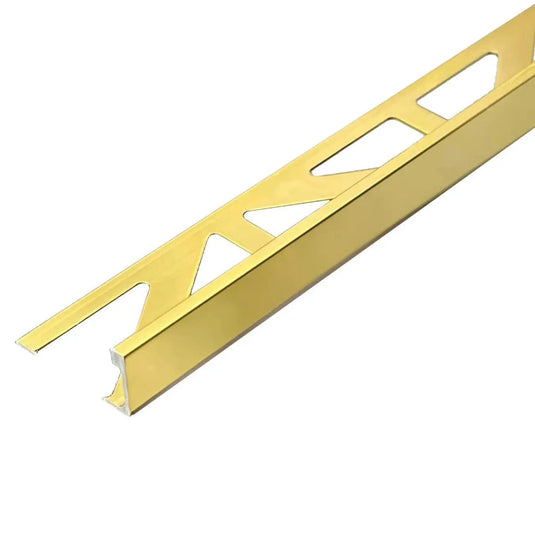
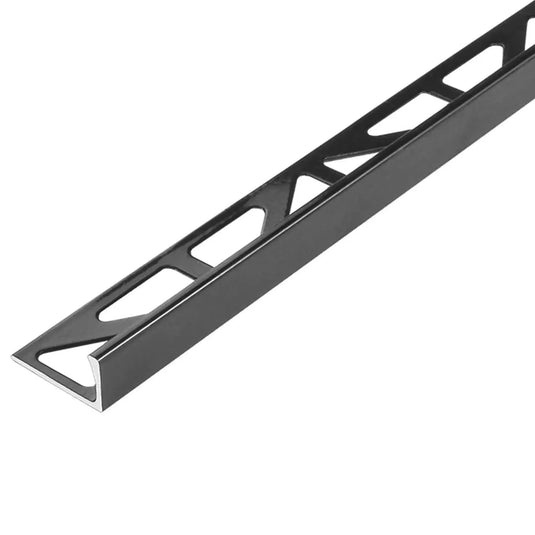
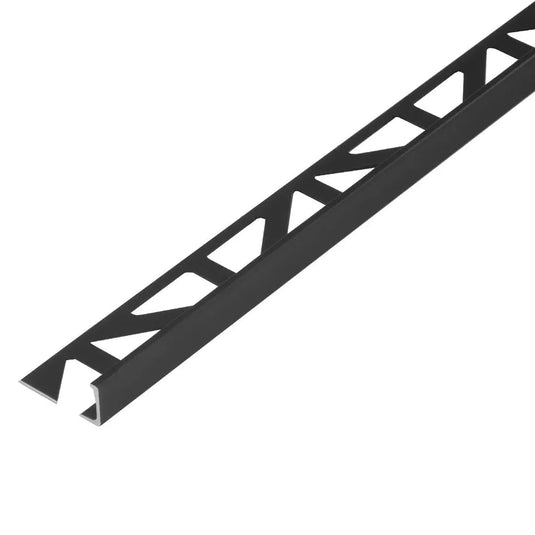
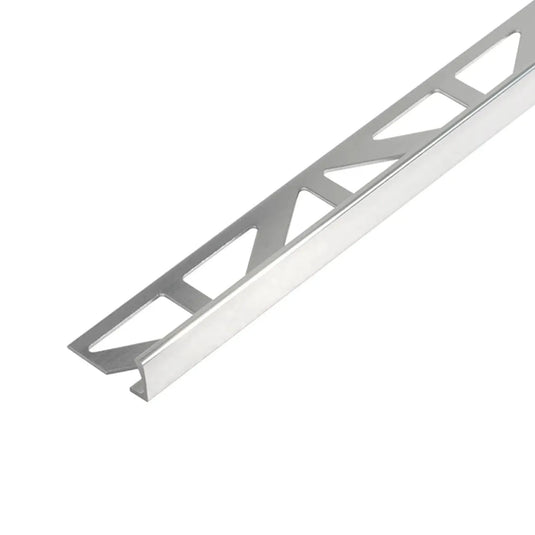
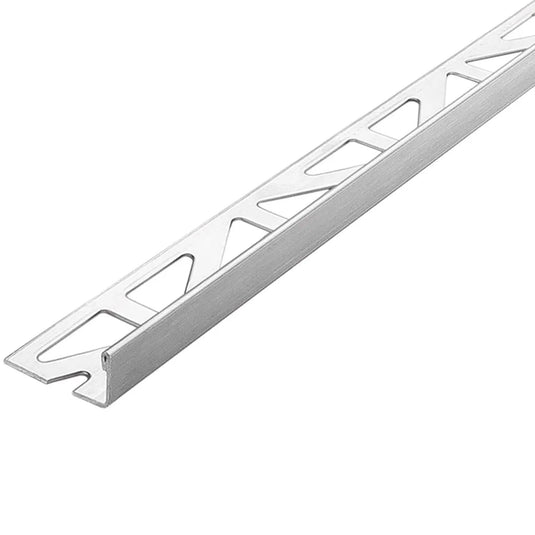
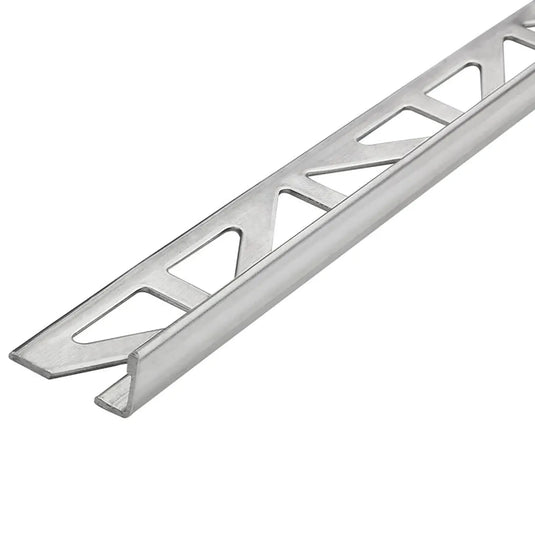
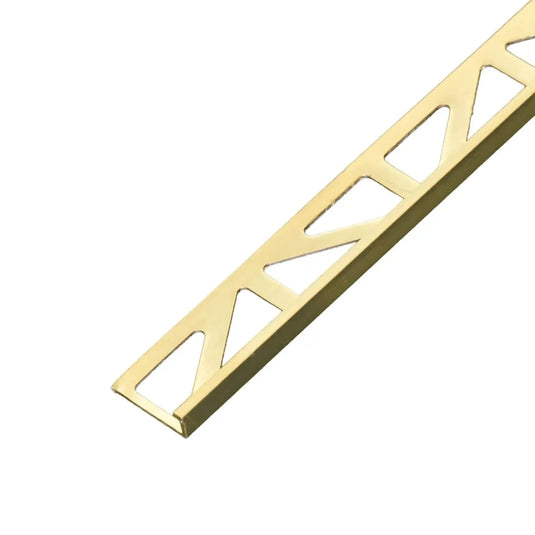
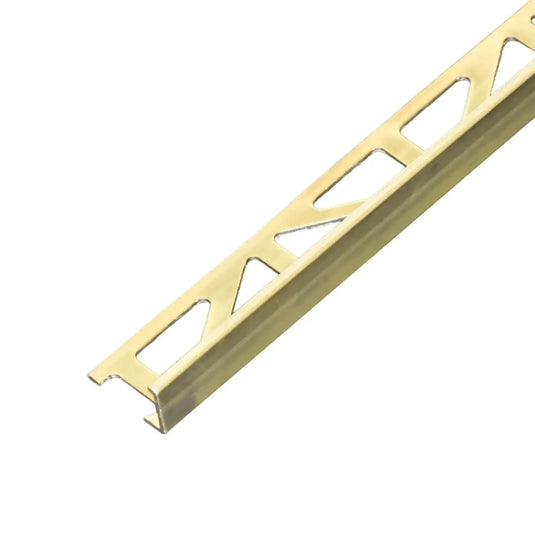
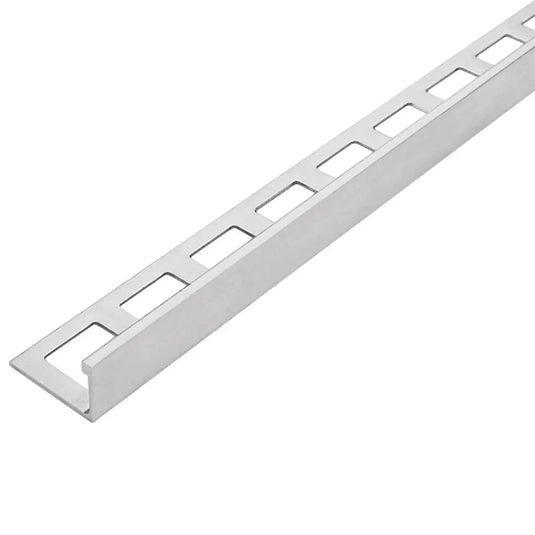
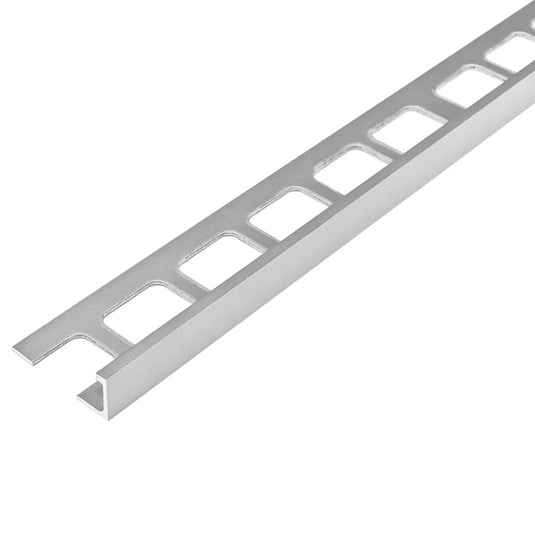
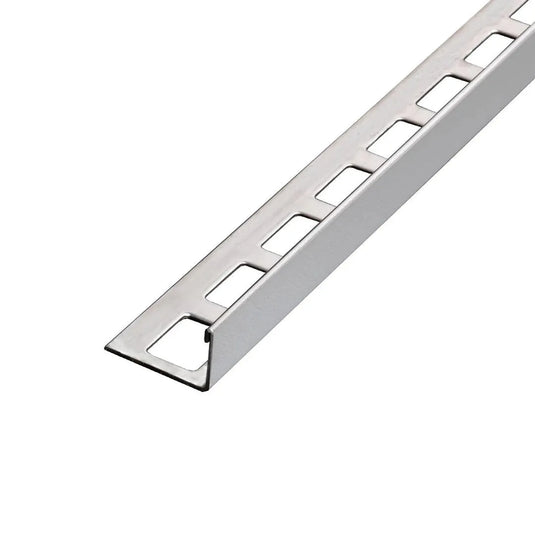
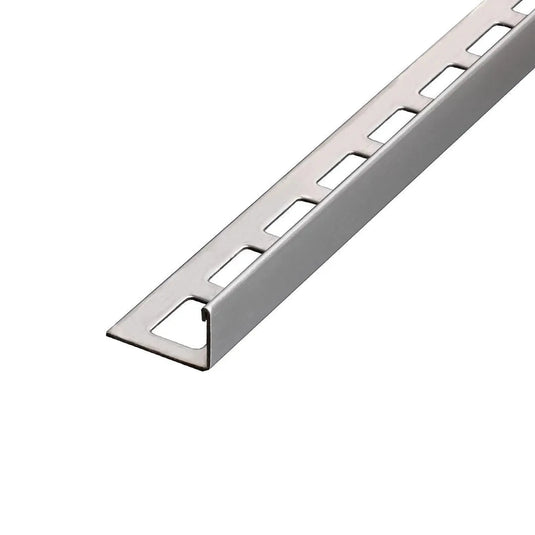
Whether in new construction or renovation: when laying tiles, many people only think about the right finishing profiles at the last minute – yet their workmanship often determines the final result. Especially in visible areas, clean transitions, precise cuts and the right installation time are crucial. Those who start unprepared risk unclean edges or time-consuming rework.
Processing tile profiles – explained step by step
To ensure that tile profiles fulfil their protective and design functions optimally, professional installation is crucial. In this guide, you will learn how to use tile profiles correctly – from selection to grouting.
-
Selecting the right tile profile
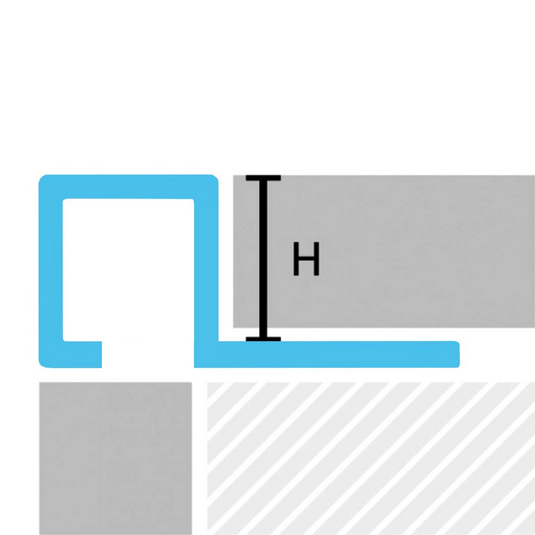
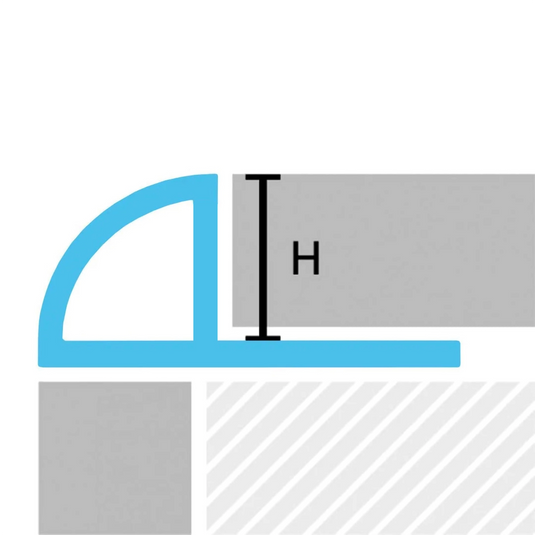
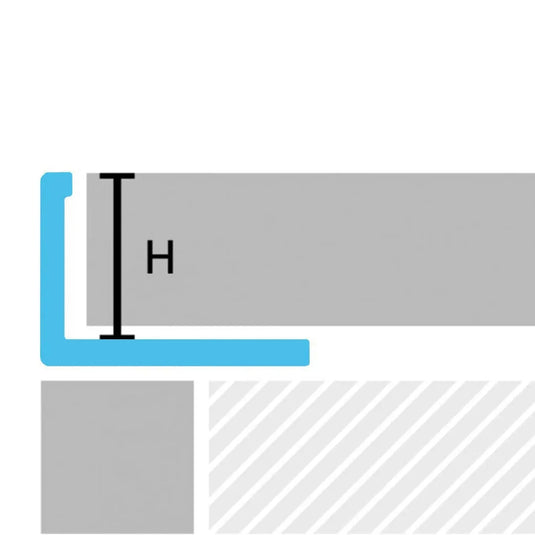
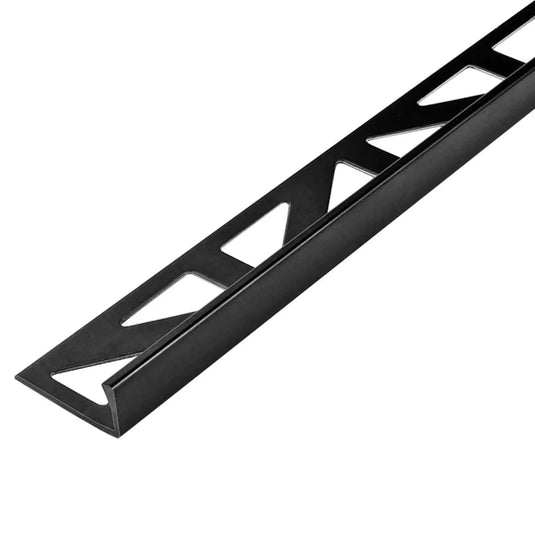
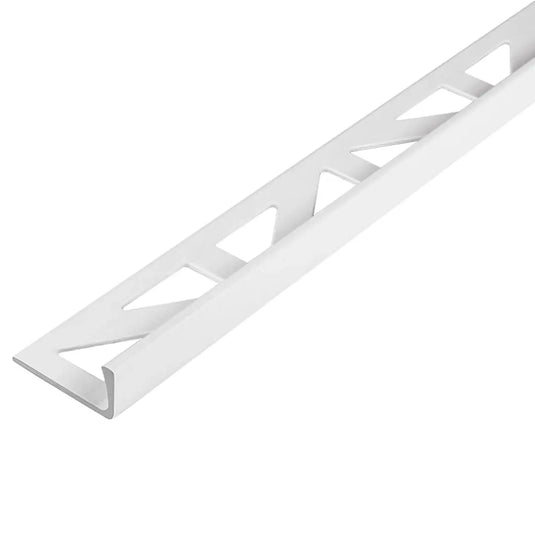
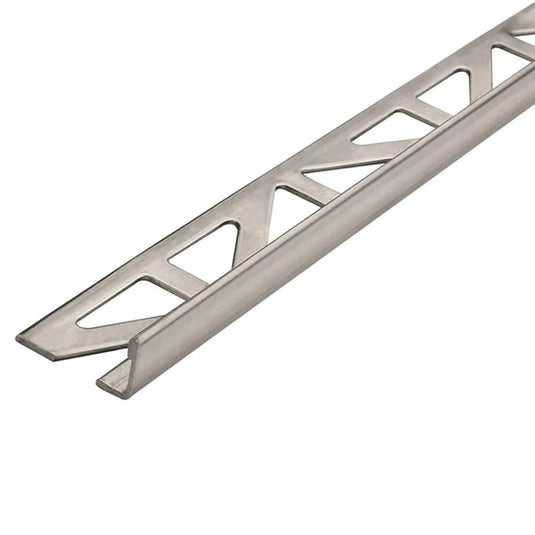
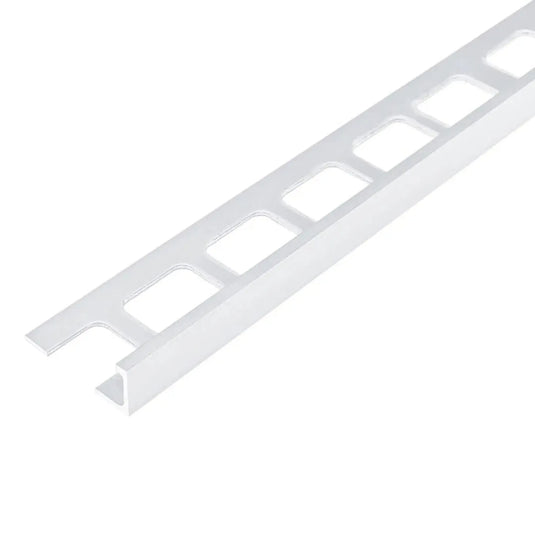
Choosing the right tile trims is crucial for a visually clean and durable result. The most important factor here is finding the right height in relation to the tile thickness.
Why is the correct height crucial?
A profile that is too low causes the tile edge to protrude – this is unattractive and prone to damage. A profile that is too high, on the other hand, creates an uneven height difference. Both variants impair the appearance and functionality of the installation.
Recommended profile heights according to tile thickness
Tile height Profile height 4 – 5 mm 6 mm 6 – 7 mm 8 mm 8 mm 9 mm 9 mm 10 mm 10 – 12 mm 12.5 mm -
Apply tile adhesive
Spread the tile adhesive evenly with a notched trowel in the area where the tile profile is to be installed. The adhesive should be applied over the entire surface to ensure a reliable bond with the profile.
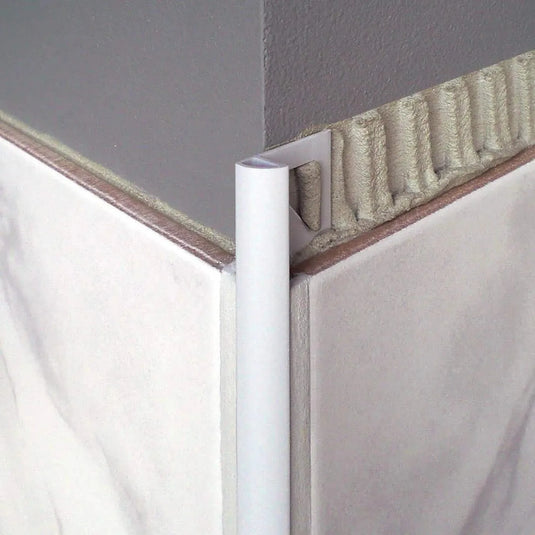
Especially with external wall corners, it makes sense to tile the entire wall surface first. This will give you a precise contact surface for the profile.

-
Insert tile profile into adhesive bed
Carefully press the tile profile into the fresh adhesive bed and align it precisely. Ensure that the fixing leg is completely covered with adhesive to ensure maximum stability.
Precise alignment is crucial for a clean joint pattern and a flush connection between the tile and the profile.

-
Fit and press down the tiles
Now place the adjacent tiles flush against the profile and press them evenly into the adhesive bed. A gap of approx. 2–3 mm should be left between the tile and the profile.
This joint serves to absorb tension and ensures a durable, crack-free result.

-
Fill the joint with mortar
Finally, apply the grout evenly to the remaining joint between the tile and the profile. Use a rubber grout squeegee or other tools for grouting for this.
Carefully remove excess mortar and smooth the joint for a professional, lasting result.

