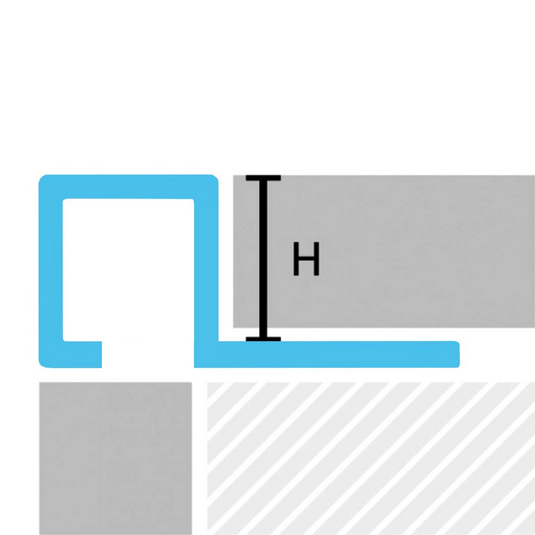
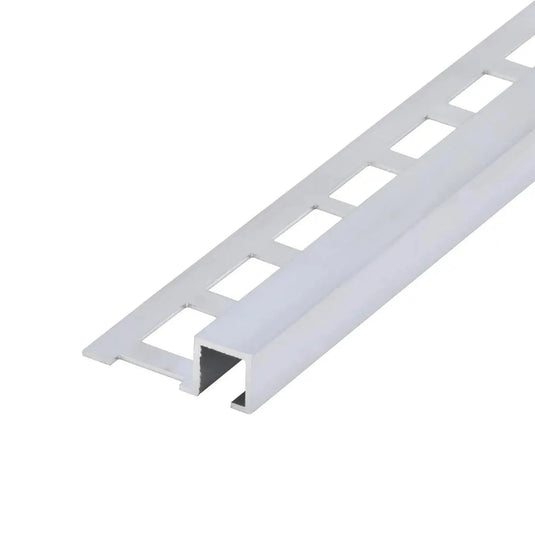
When laying tiles, many DIY enthusiasts and even professionals focus primarily on the pattern or grout lines – and underestimate how crucial the right profile finish is to the overall look. It's not just a question of precision craftsmanship, but also of aesthetics and style. Corners and transitions are where you can see whether a project has been carefully thought through – or just somehow works.
Mitre cut or accessories? How to join tile profiles correctly
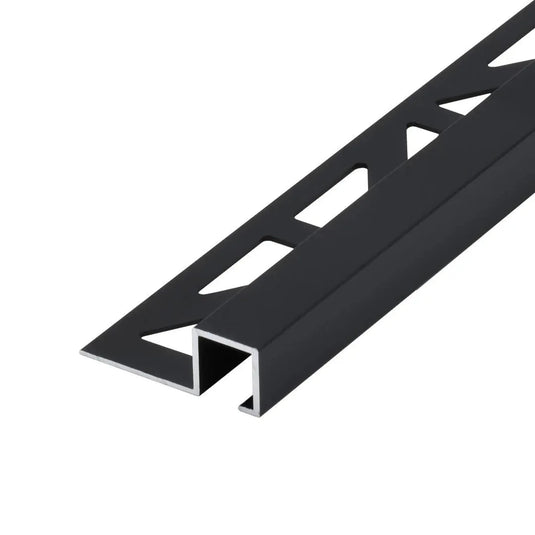
Installing tile profiles requires careful consideration, especially when it comes to cuts and connections. In this blog post, we take a look at the decision between mitre cuts and the use of accessories such as connectors, inner and outer corners for skirting boards or tile trims. Which option makes more sense – and when is each method best suited?
Mitre cut
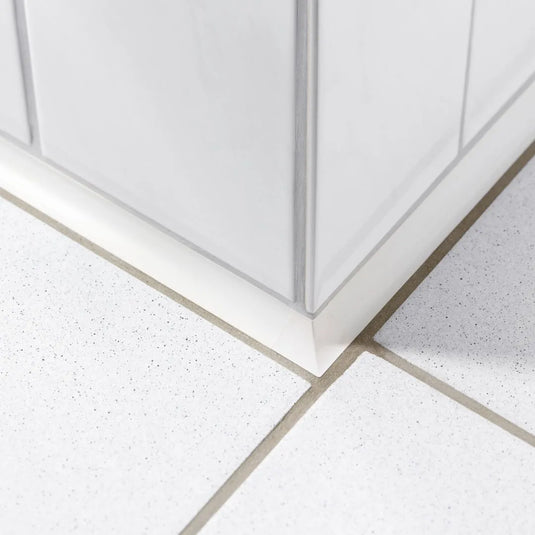
Mitre cuts are a classic method for joining tile profiles seamlessly. The ends of the profiles are cut at a specific angle to create a precise and modern-looking corner. In older buildings in particular, it is often necessary to deviate from the standard angle. Mitre cutting is ideal when a continuous appearance without interruptions is desired.
Advantages of mitre cuts
- Attractive corners without visible interruptions
- Continuous appearance along the joints
- Option to adjust individual angles
- Cost advantage due to elimination of accessories
Typical applications for mitre cuts
These cuts are particularly common in high-quality bathrooms, living areas with visible edges or tile backsplashes in kitchens. Mitre cuts also ensure an aesthetically clean overall appearance without visible transitions in stair profiles or edging.
When is a mitre cut useful?
Mitre cuts are particularly suitable for modern, linear designs. It is important to prepare carefully: measure the angles, prepare the cut precisely and work calmly. Mistakes in the cut are difficult to correct later. Beginners are advised to practise with different angles beforehand.
What tools are required?
In principle, you can cut mitres with any saw that is suitable for metal or plastic. A mitre box or bevel is helpful for measuring and transferring the desired angle precisely. The tool should be suitable for the profile material and enable precise guidance.
What you should consider when choosing tools
Choose the right tool for the material of the tile profile – e.g. a fine-toothed metal saw for aluminium profiles or plastic saw blades for PVC strips. A clean cut edge prevents splintering and ensures a professional end result.
Mitre cutting – step-by-step instructions
- Measure the angle: Determine the exact angle of the corner.
- Transfer the angle: Use a mitre square to mark the workpiece.
- Adjust the saw: Set the appropriate mitre angle.
- Secure the profile: Clamp the workpiece to prevent it from slipping.
- Saw cleanly: Make the cut slowly and precisely.
Accessories such as connectors, inner and outer corners
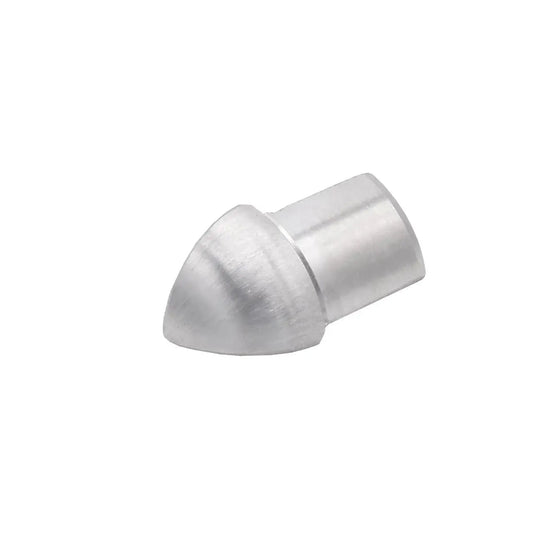
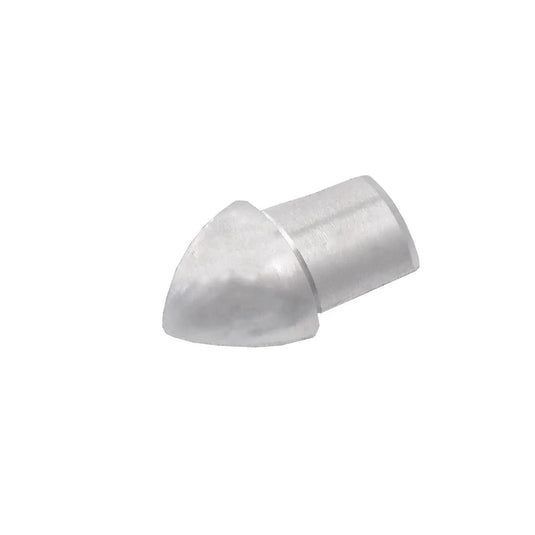
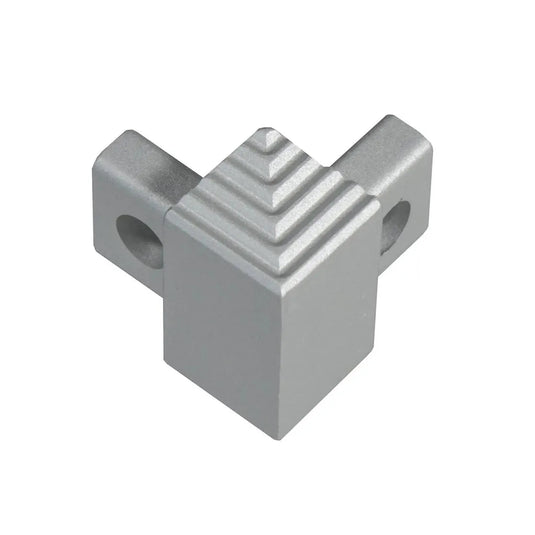
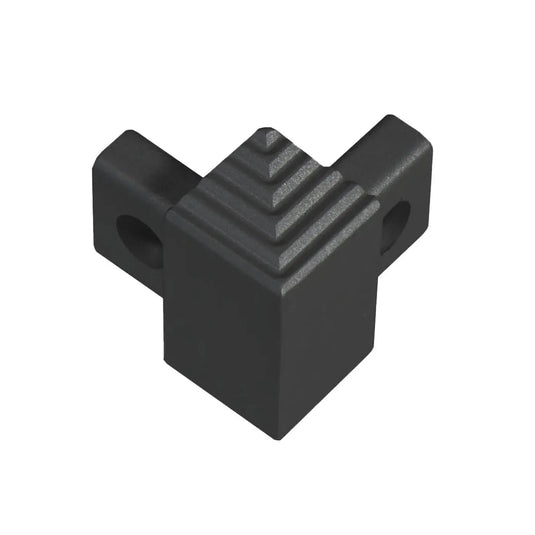
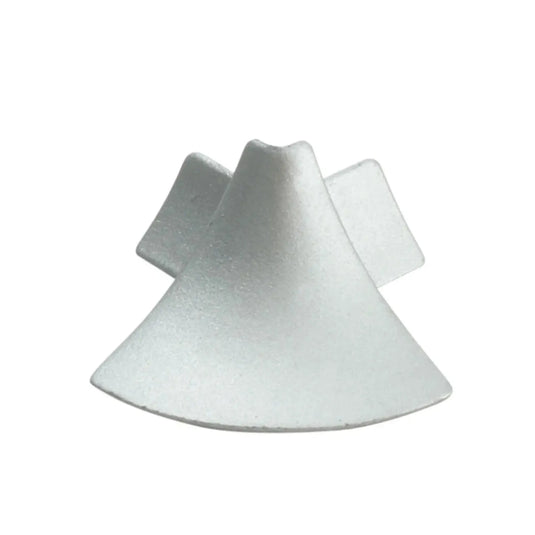
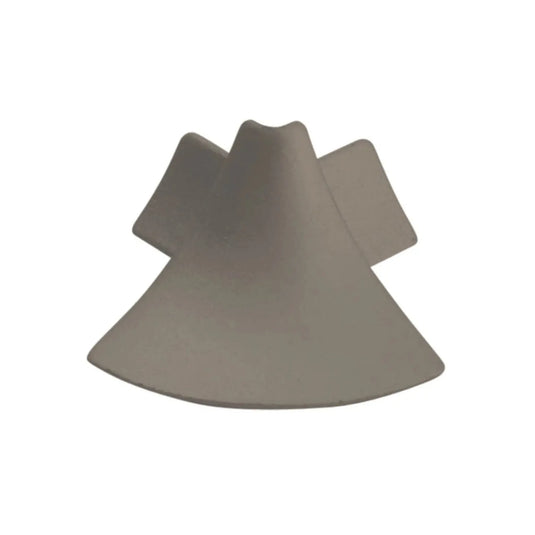
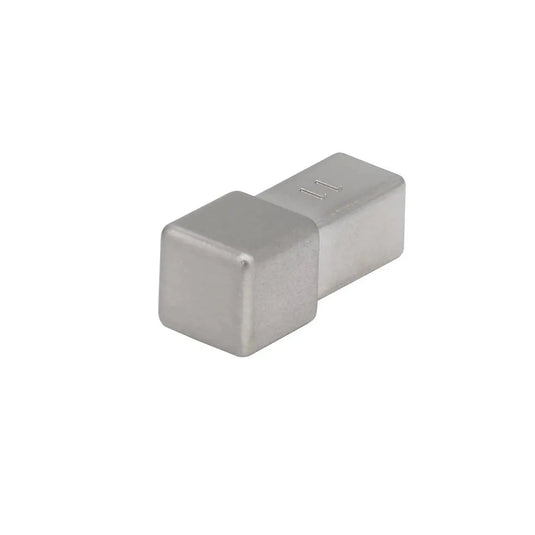
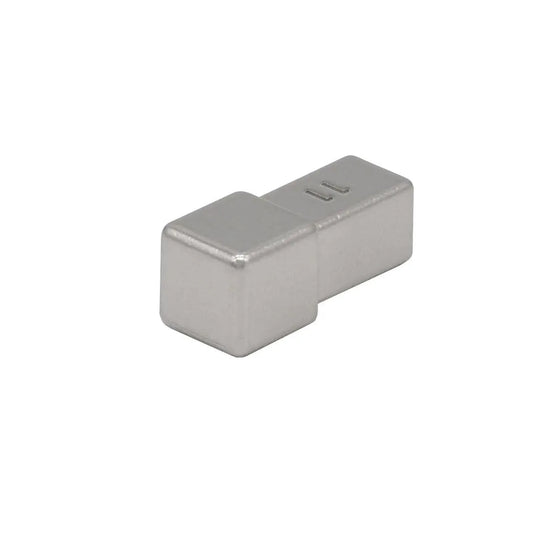
An alternative connection method is to use accessories such as connectors, internal corners and external corners. These enable simple installation without time-consuming cutting work. They are a time-saving and practical solution, especially for DIY projects or in less critical areas.
Advantages of accessories
- Quick and easy to assemble
- No individual cuts required
- Neat result thanks to precisely fitting parts
- Ideal for DIY enthusiasts and quick projects
When are accessories useful?
Accessories are the best choice for simple projects, in rented flats, for quick conversions or if you don't have any cutting tools available. Even with standard angles, accessories save time and effort.
Conclusion
Whether you opt for mitre cutting or accessories depends on the project goal and your craftsmanship skills. Mitre cutting is recommended for a high-quality visual result, whereas accessories score points for convenience and speed when you are pressed for time or doing DIY work. Both options have their merits – choose carefully depending on your requirements.
