Waterproofing your bathroom is crucial to prevent long-term damage caused by moisture. Whether you're installing a new bathroom or renovating an existing one, careful waterproofing is essential. This guide will walk you through the steps to properly waterproof walls, floors, plumbing and shower enclosures. Thorough preparation and application of specific waterproofing materials are key to a safe and dry bathroom.
Step 1: Preparation is everything
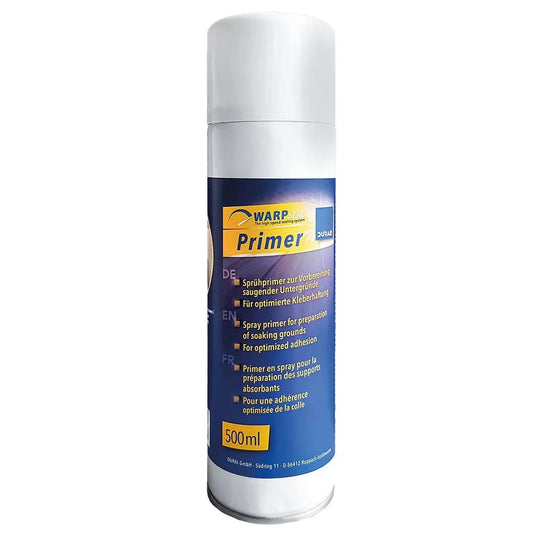
First of all, the substrate must be clean, dry and free of loose particles. Remove dust, dirt and grease that could affect adhesion. Cracks and unevenness should be repaired before applying the waterproofing. If necessary, touch up the substrate with a suitable repair compound to ensure a flat surface. Then apply a suitable primer to improve the adhesion of the waterproofing membranes. Allow the primer to dry according to the manufacturer's instructions.
Step 2: Material selection
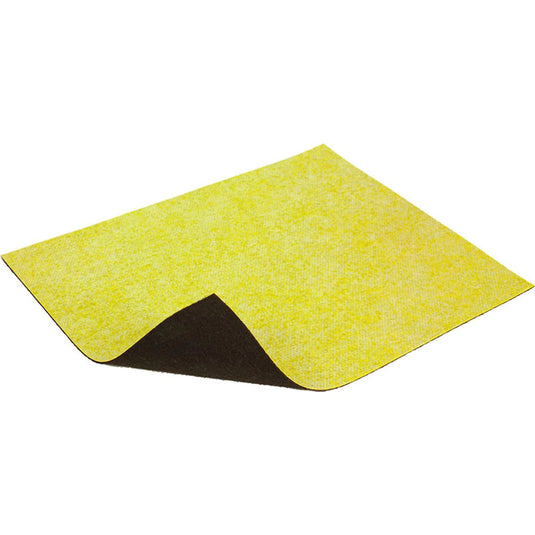
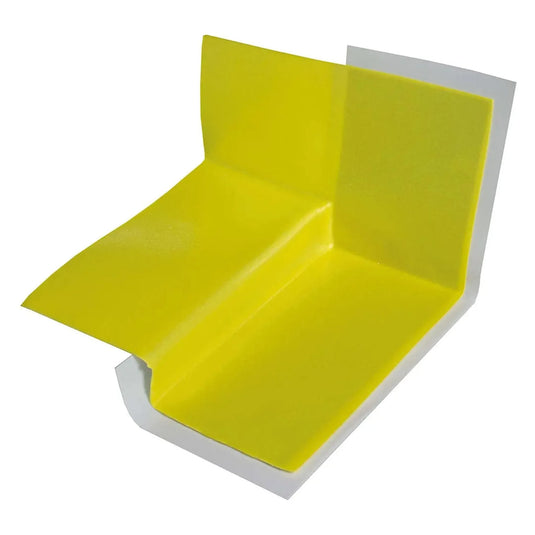
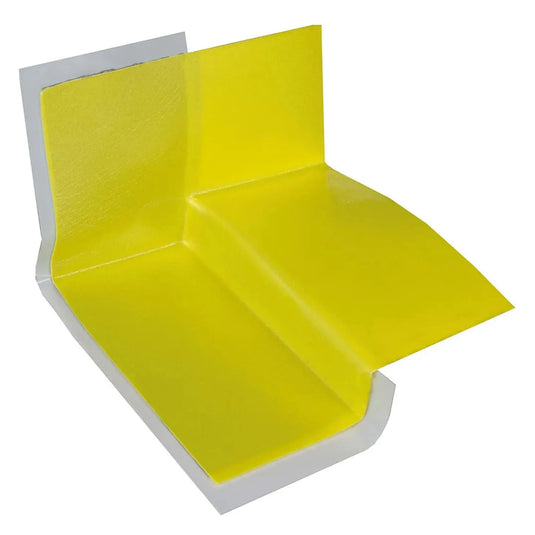
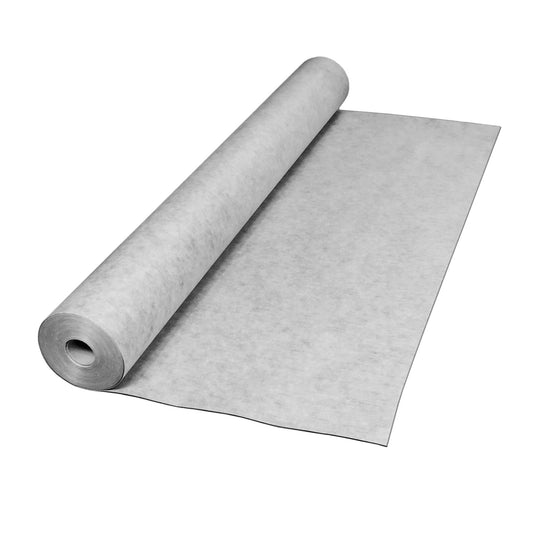
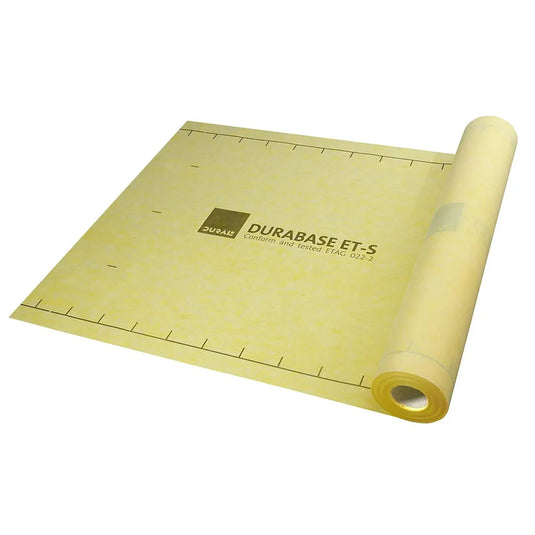
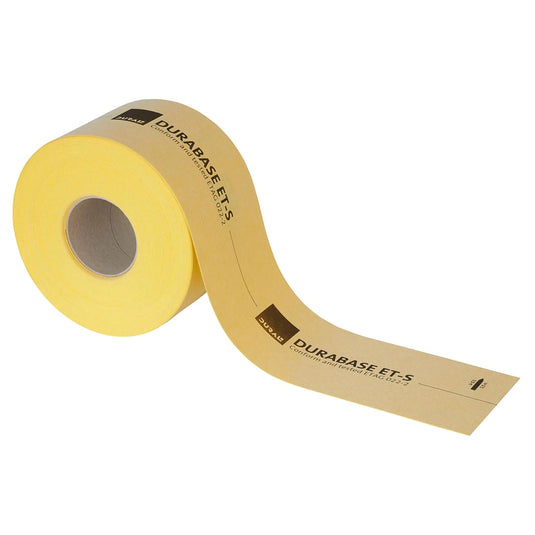
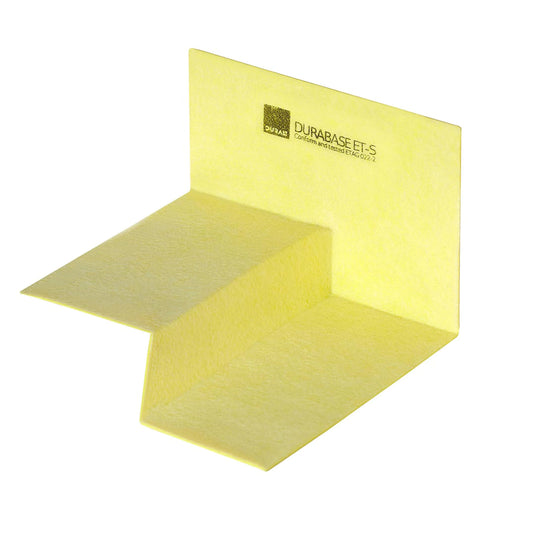
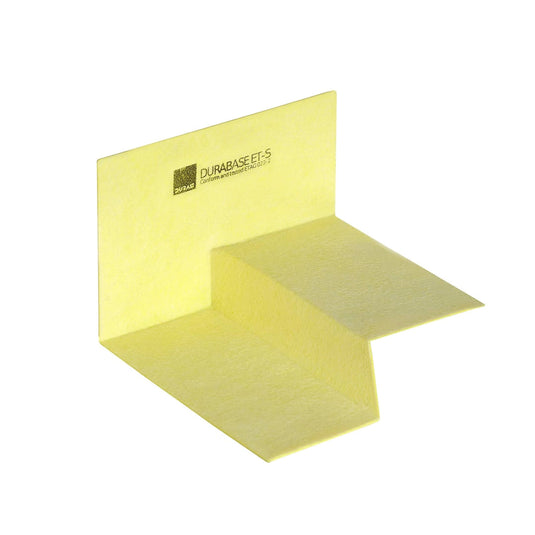
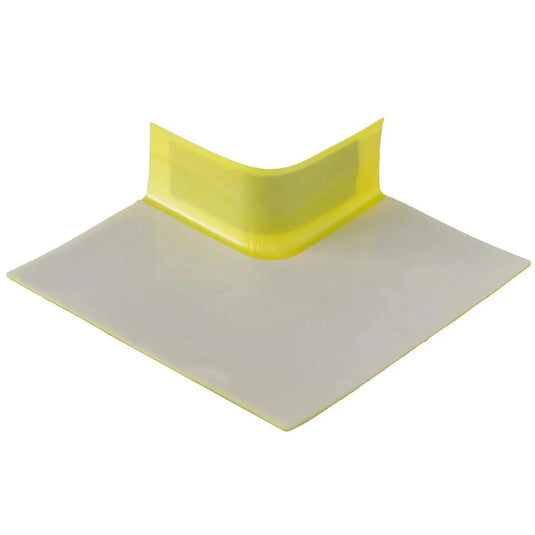
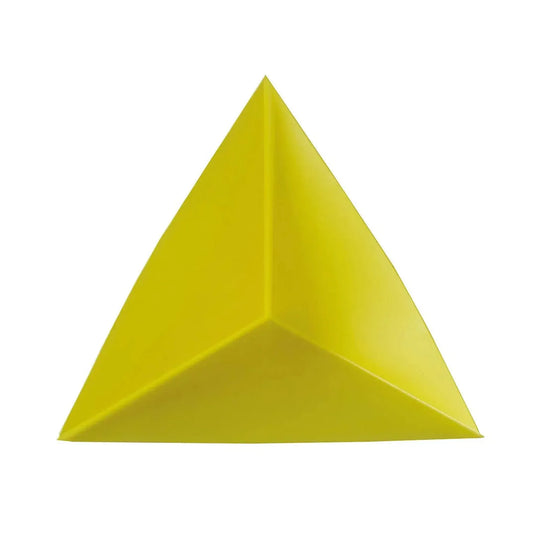
Choose suitable sealing materials based on the area of application and the specific requirements of your bathroom. In this article, we focus on sealing with sealing mats.
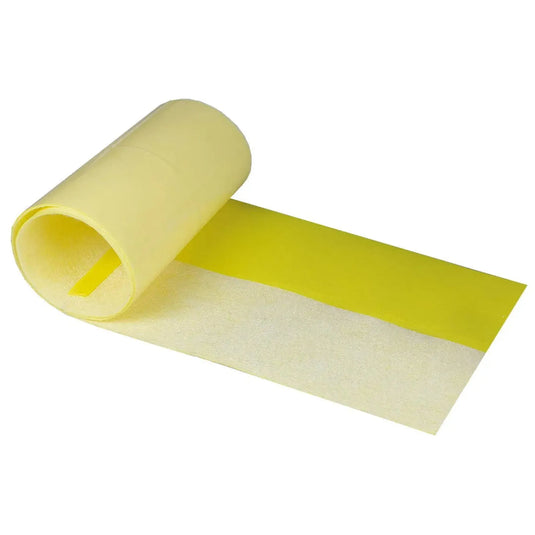
Step 3: Laying the waterproofing membranes on the floor
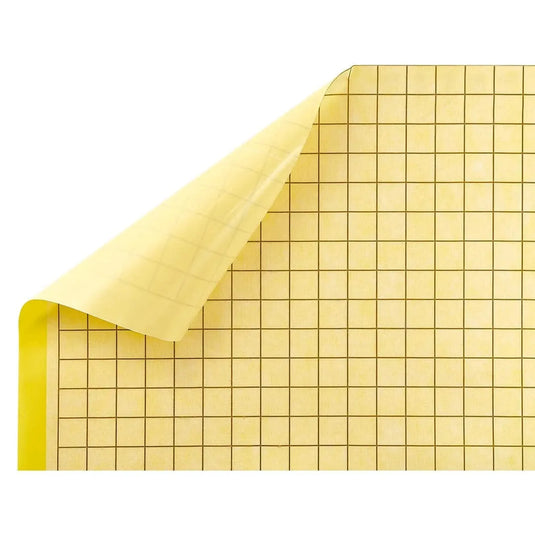
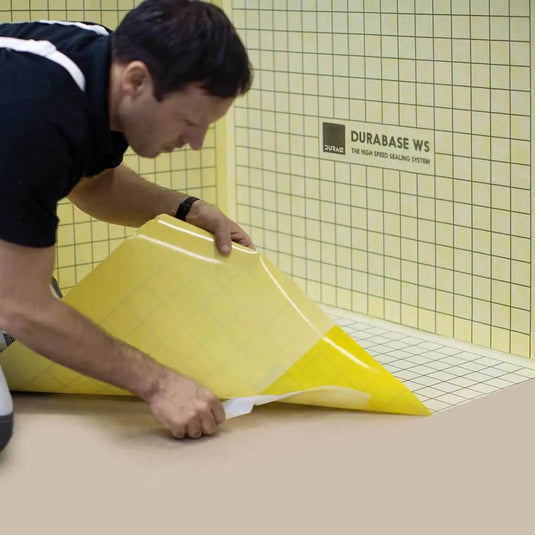
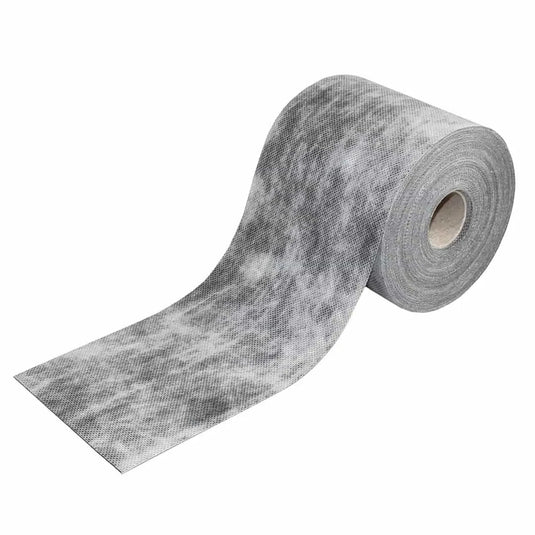
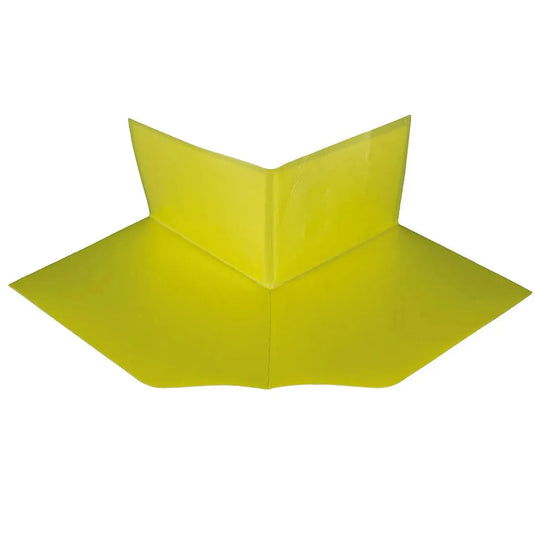
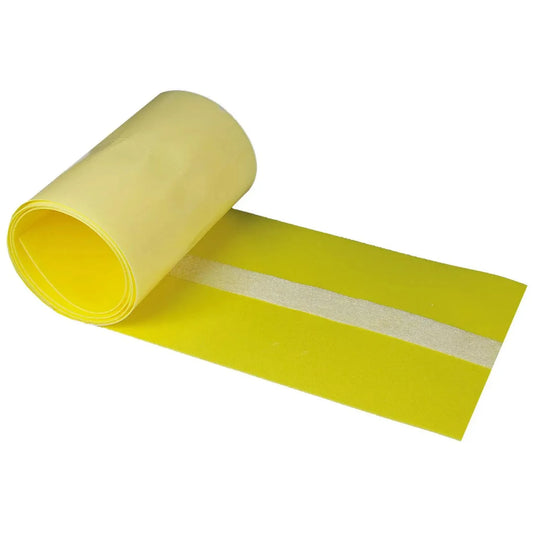
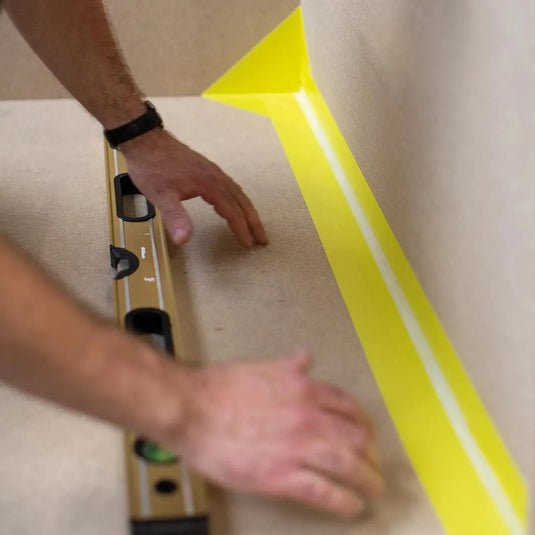
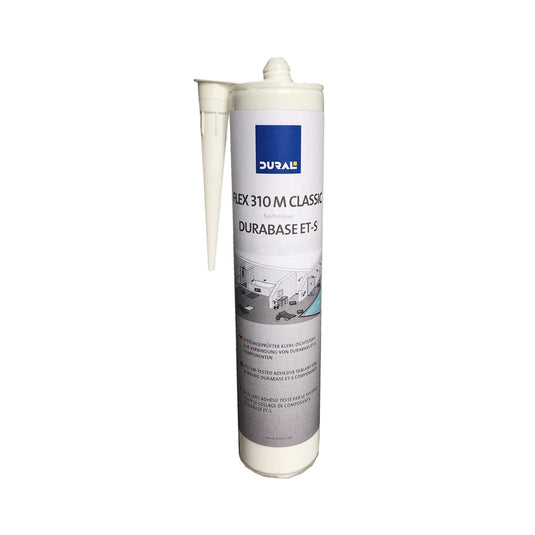
Measure the waterproofing sheets and cut them to the required size. Allow for overlaps of at least 5 cm at the joint edges. Apply tile adhesive in sections to the properly prepared and primed surface using a 4 x 4 mm notched trowel. Place the cut-to-size waterproofing sheet on the adhesive and press firmly. Use a roller or smooth tool to remove bubbles and wrinkles. Lay the sheets with an overlap of at least 5 cm. The overlap must be bonded watertight with the adhesive sealant . If you lay sheets butt-jointed, you should bond them watertight with ET-S sealing tape and DURAL ET-S adhesive sealant .