


Cart
Your cart is empty.
Continue shopping
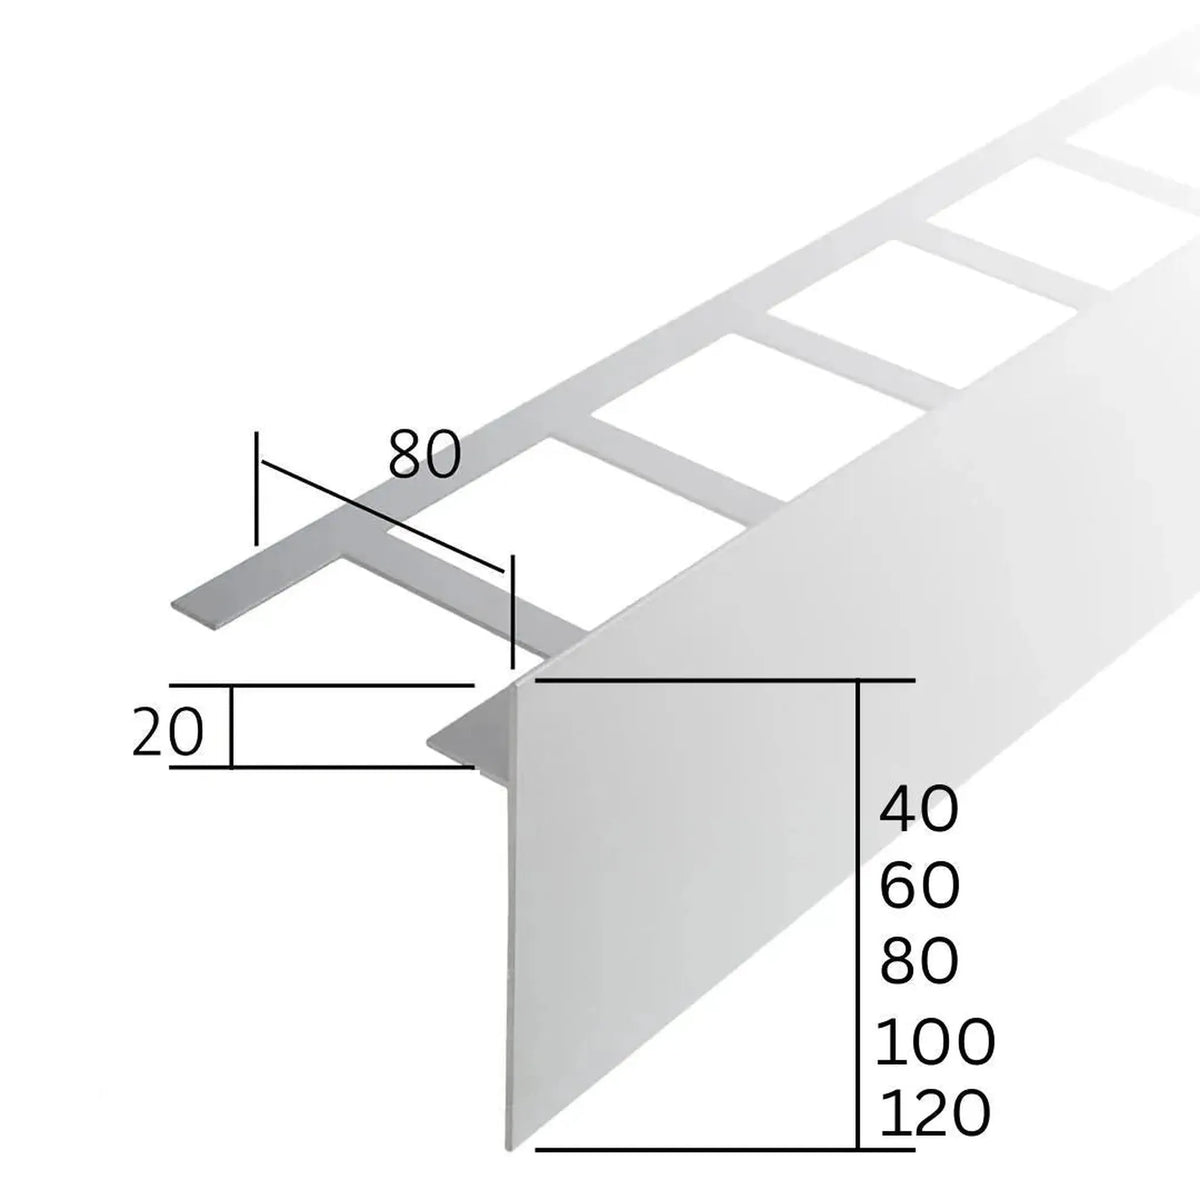
L 300cm / H 40-120mm
Total price
0,00 €
incl. 21% VAT plus shipping
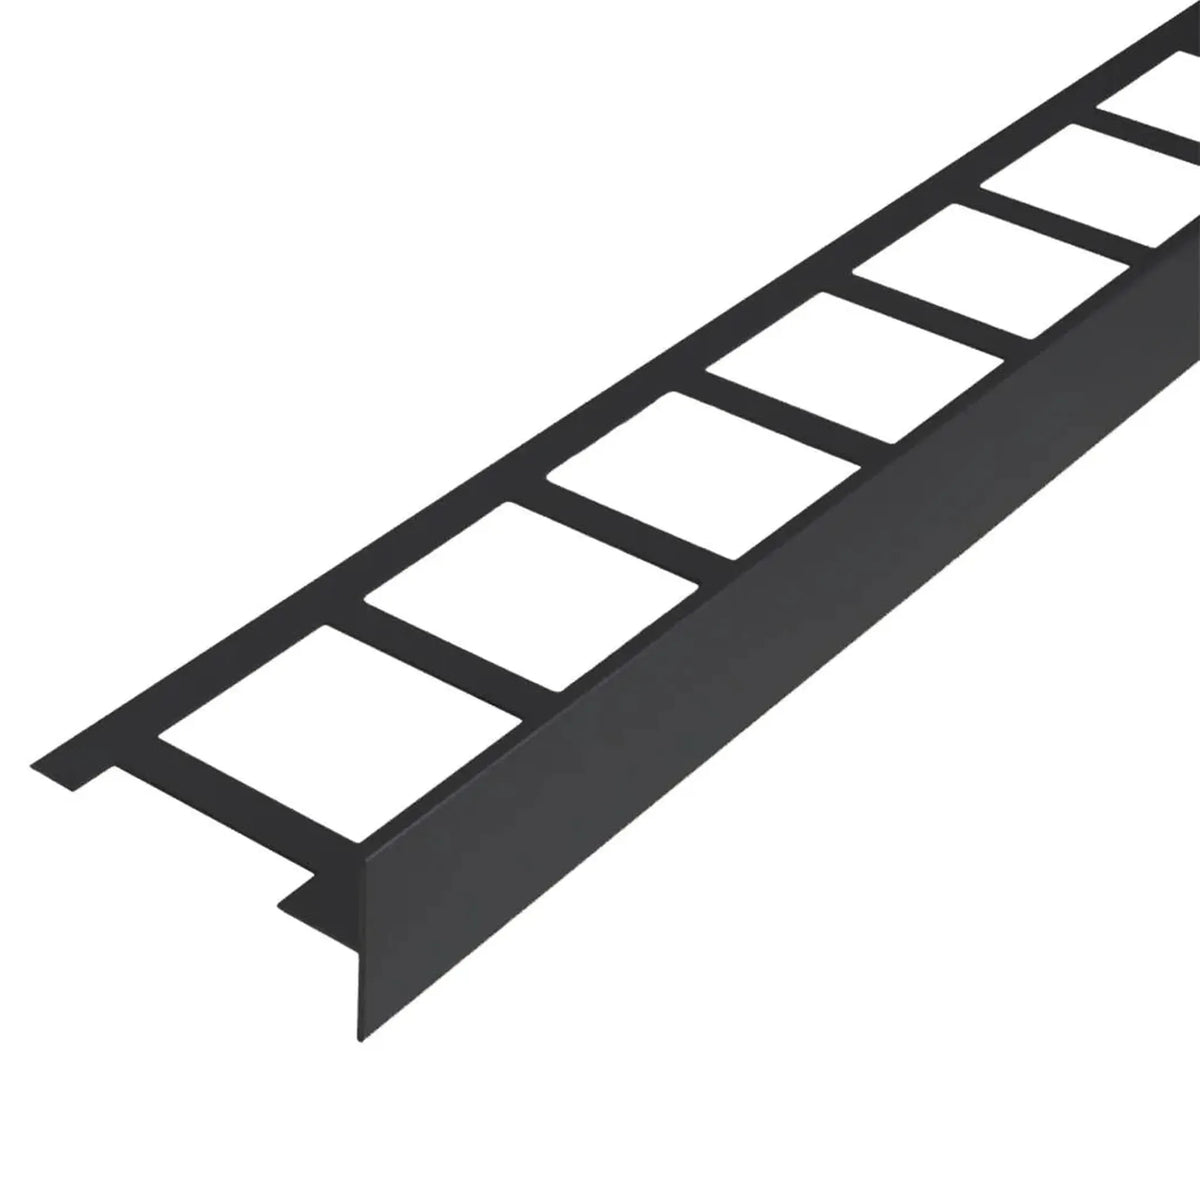
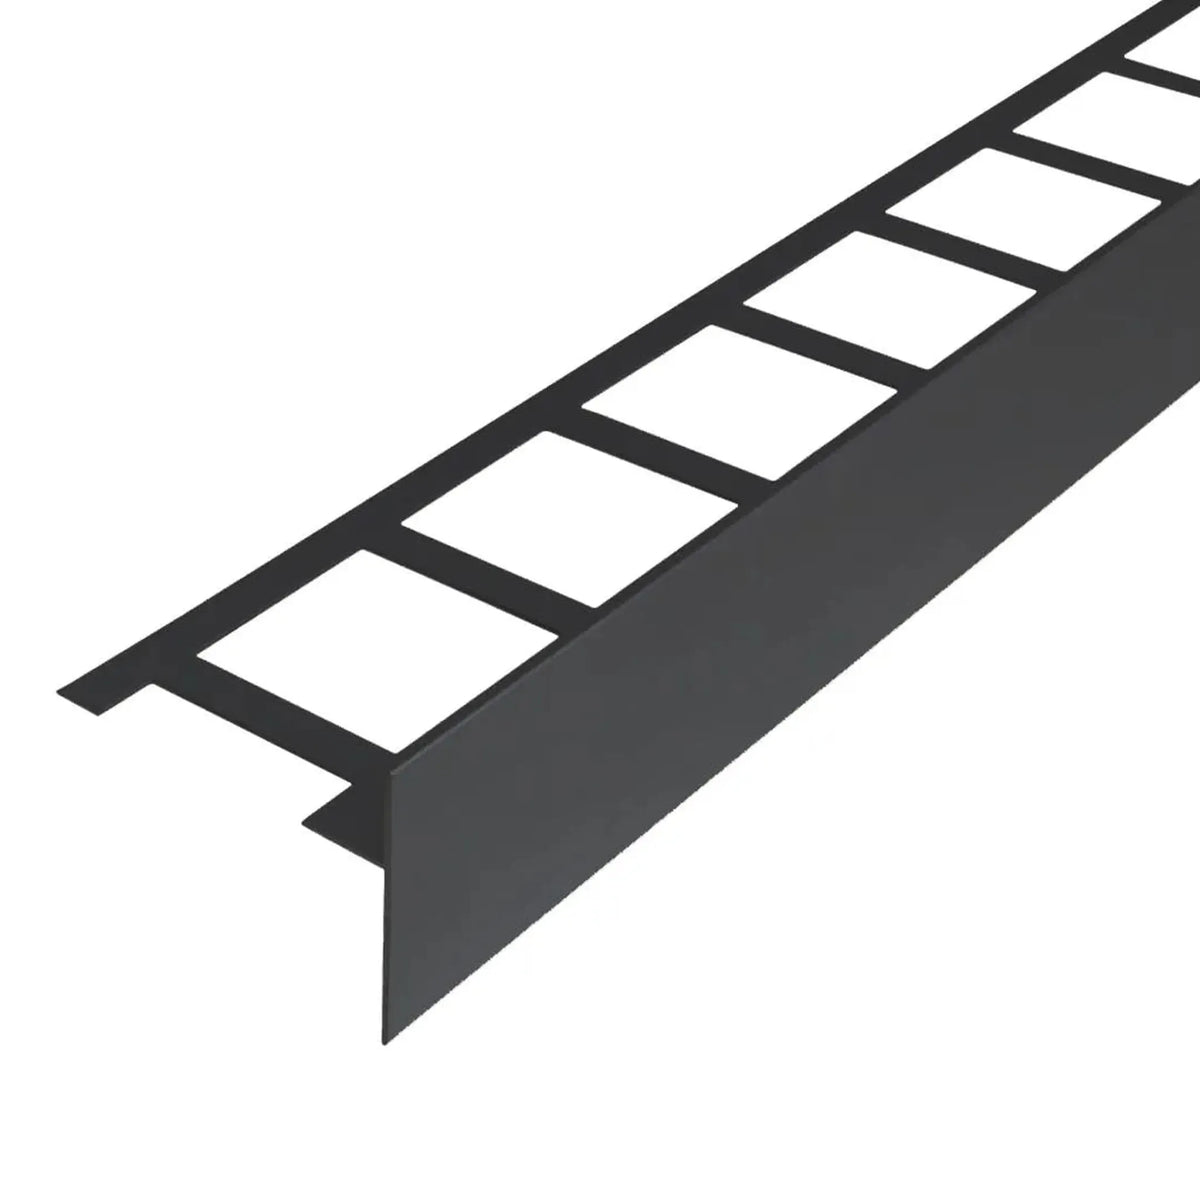
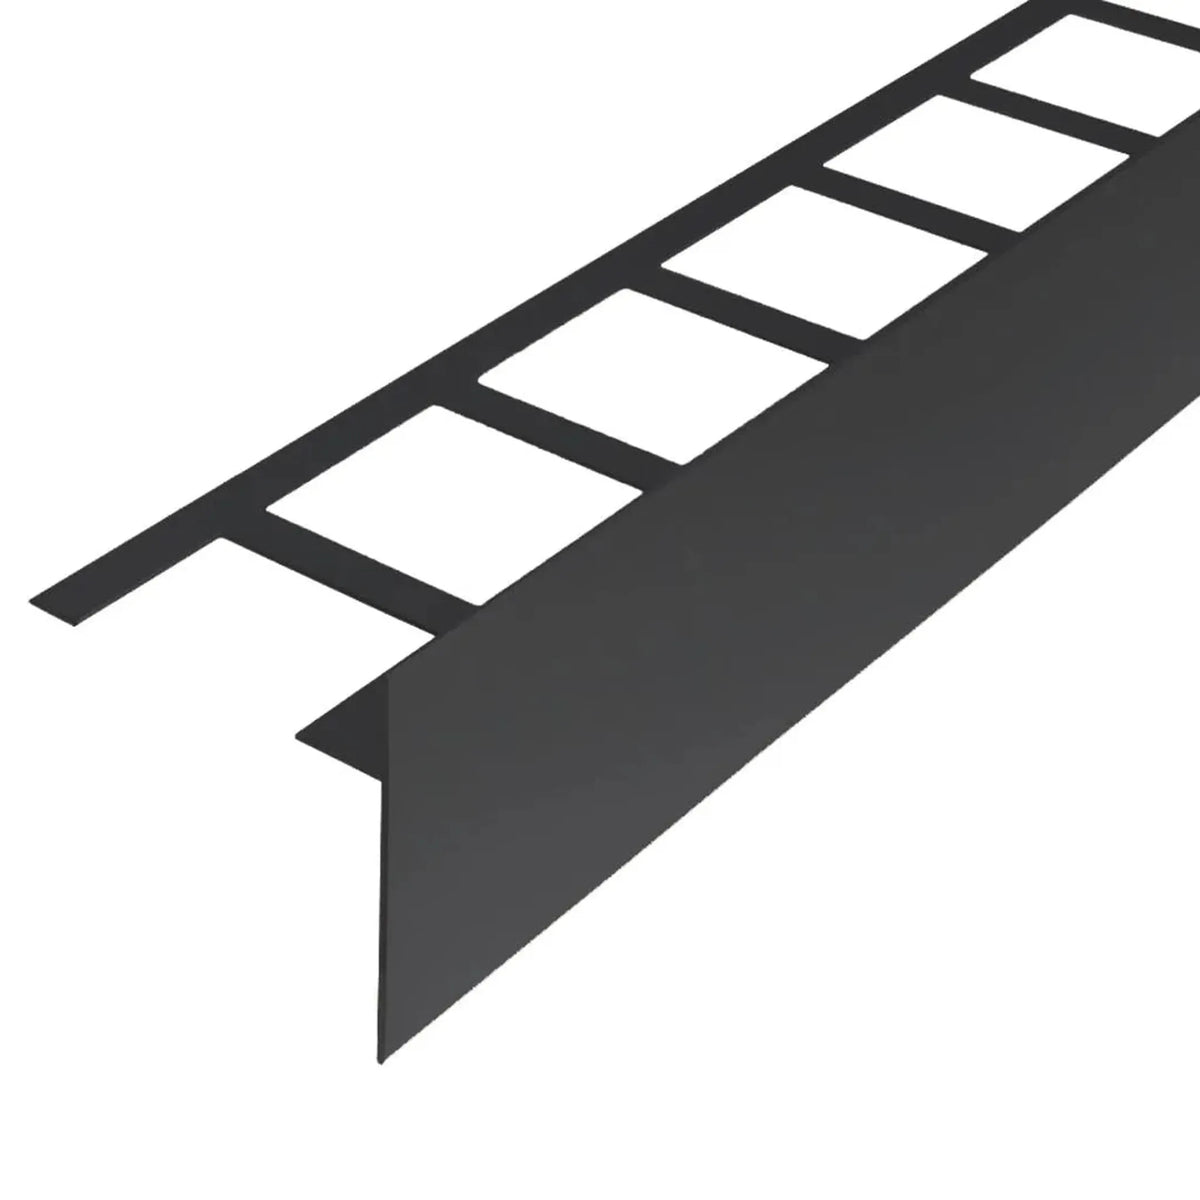
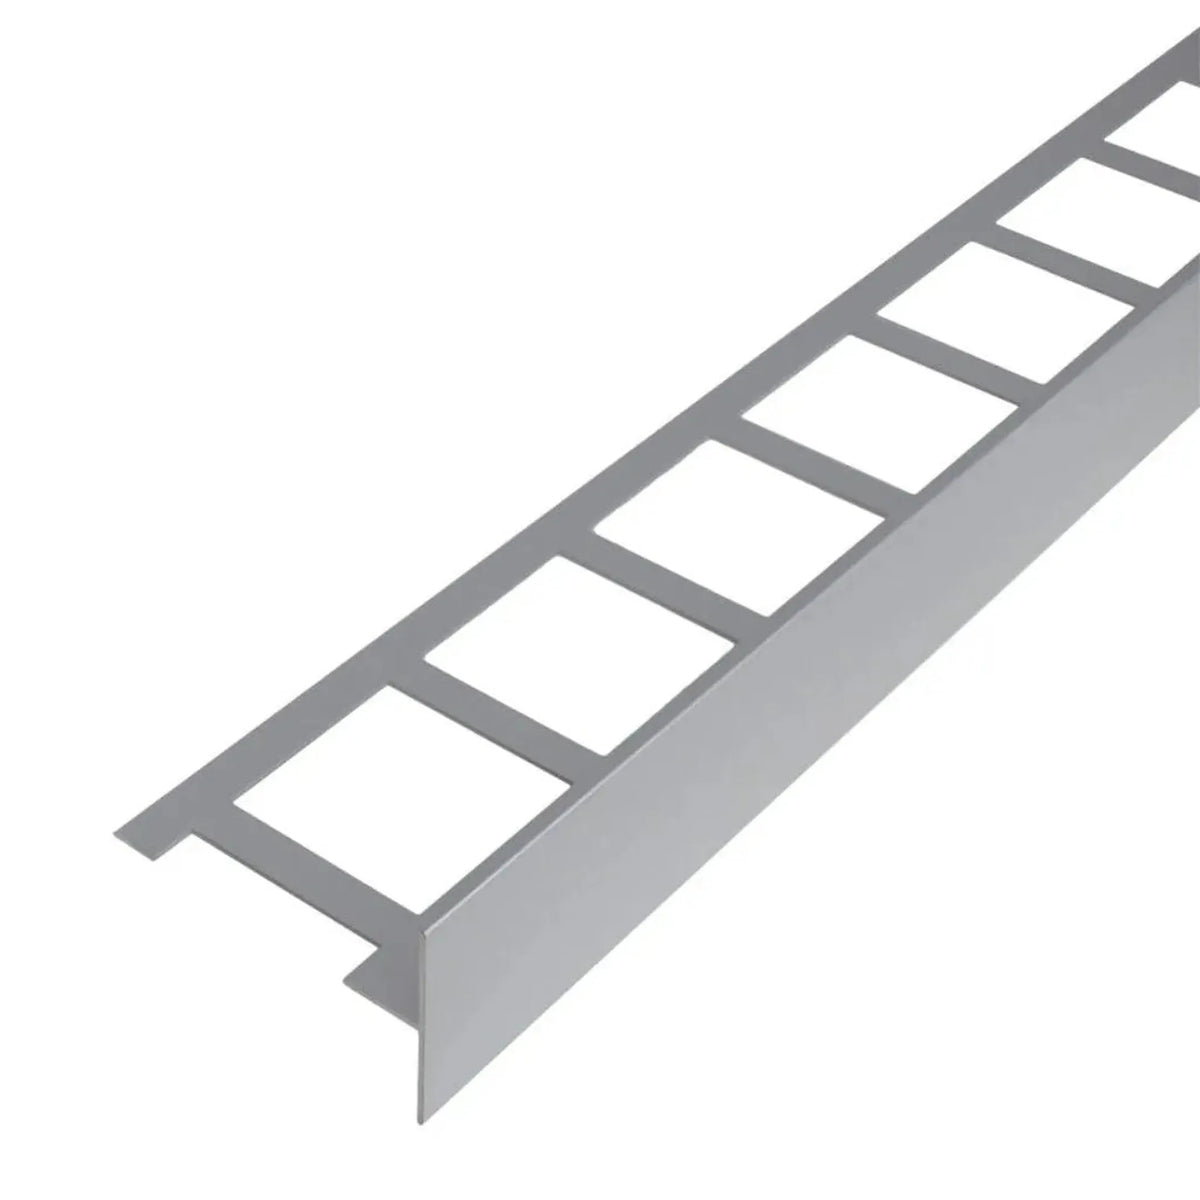
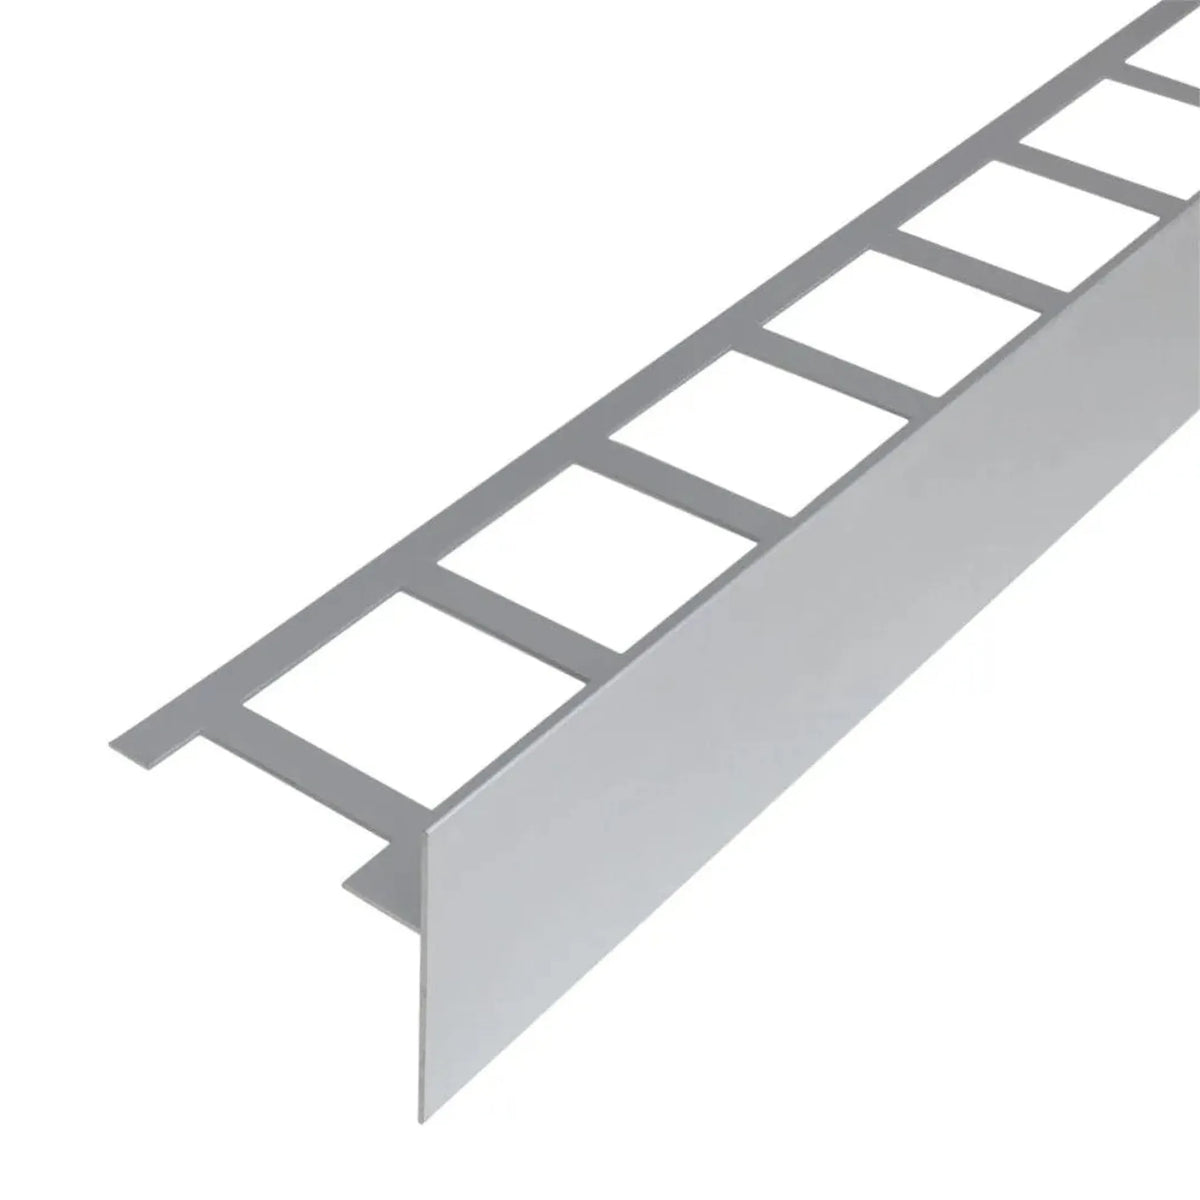
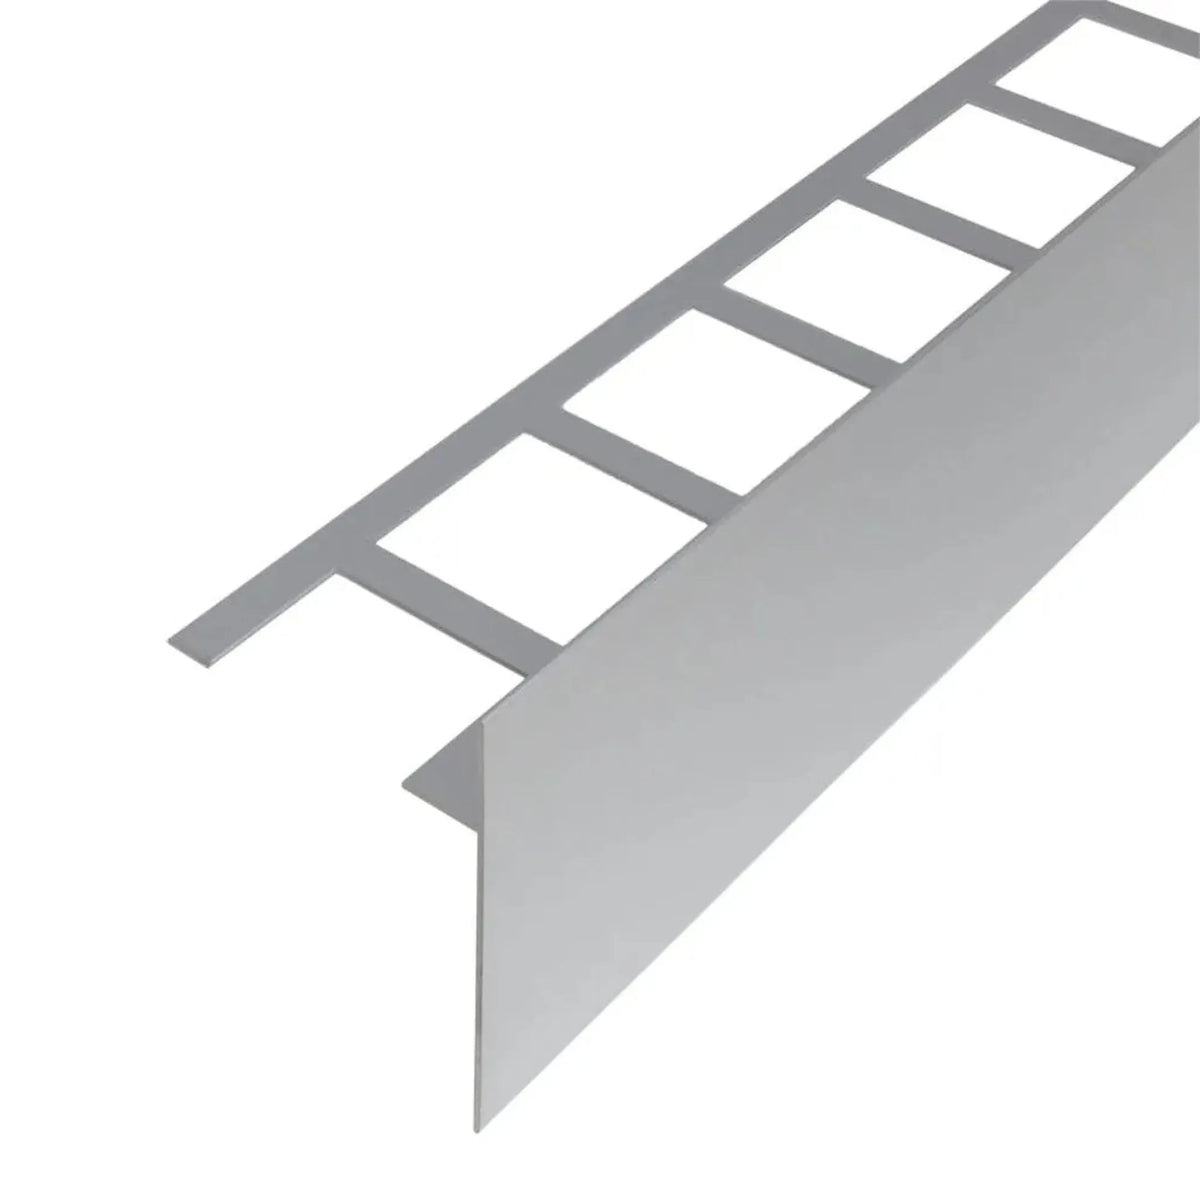
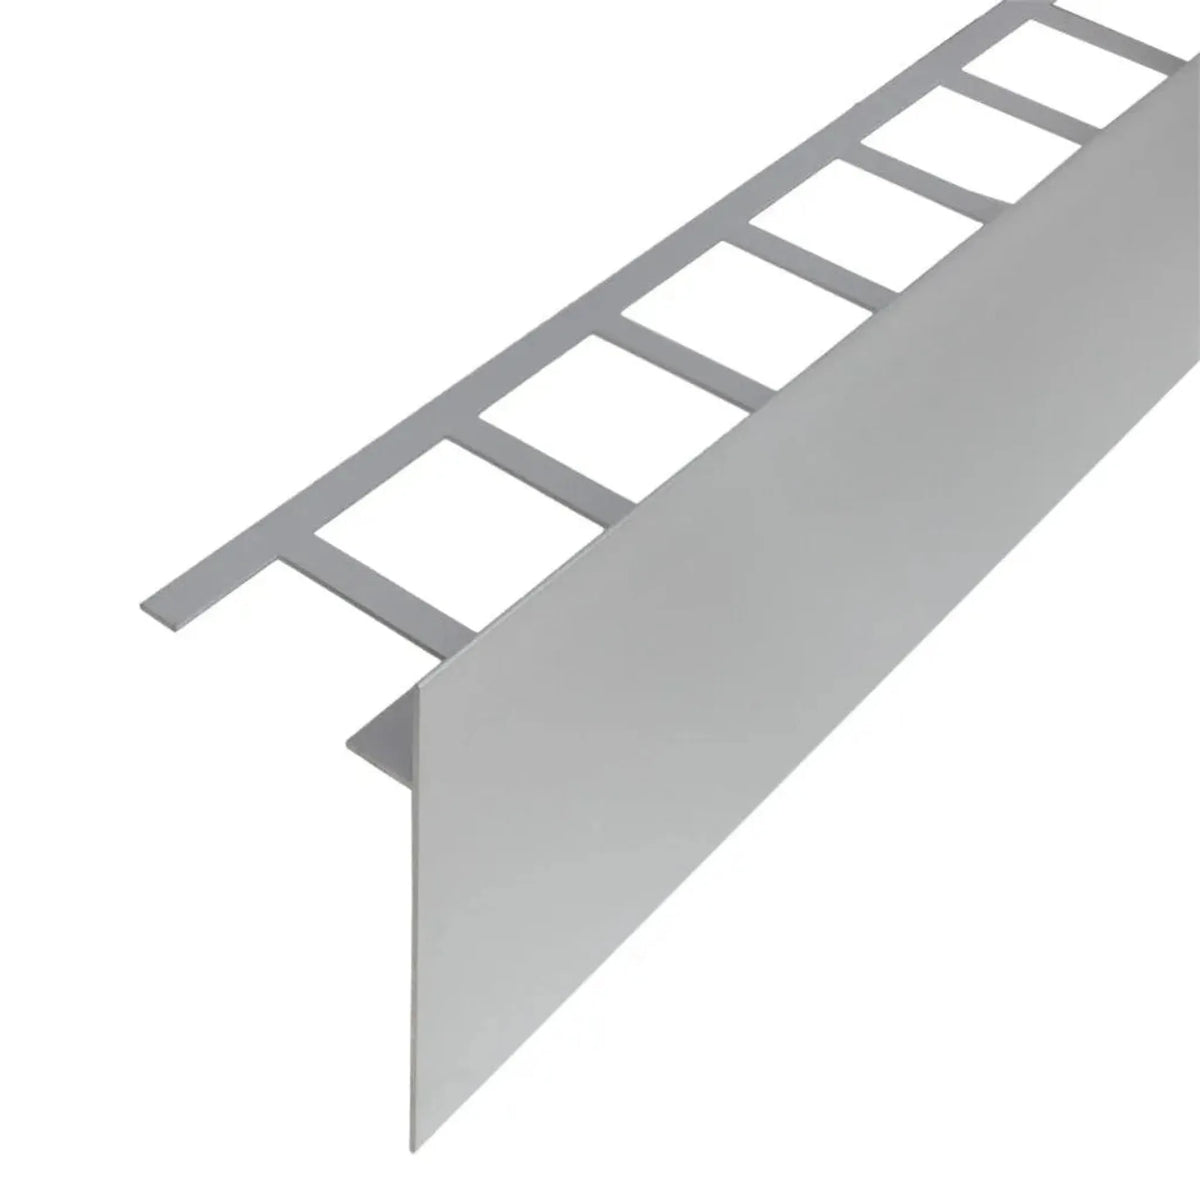
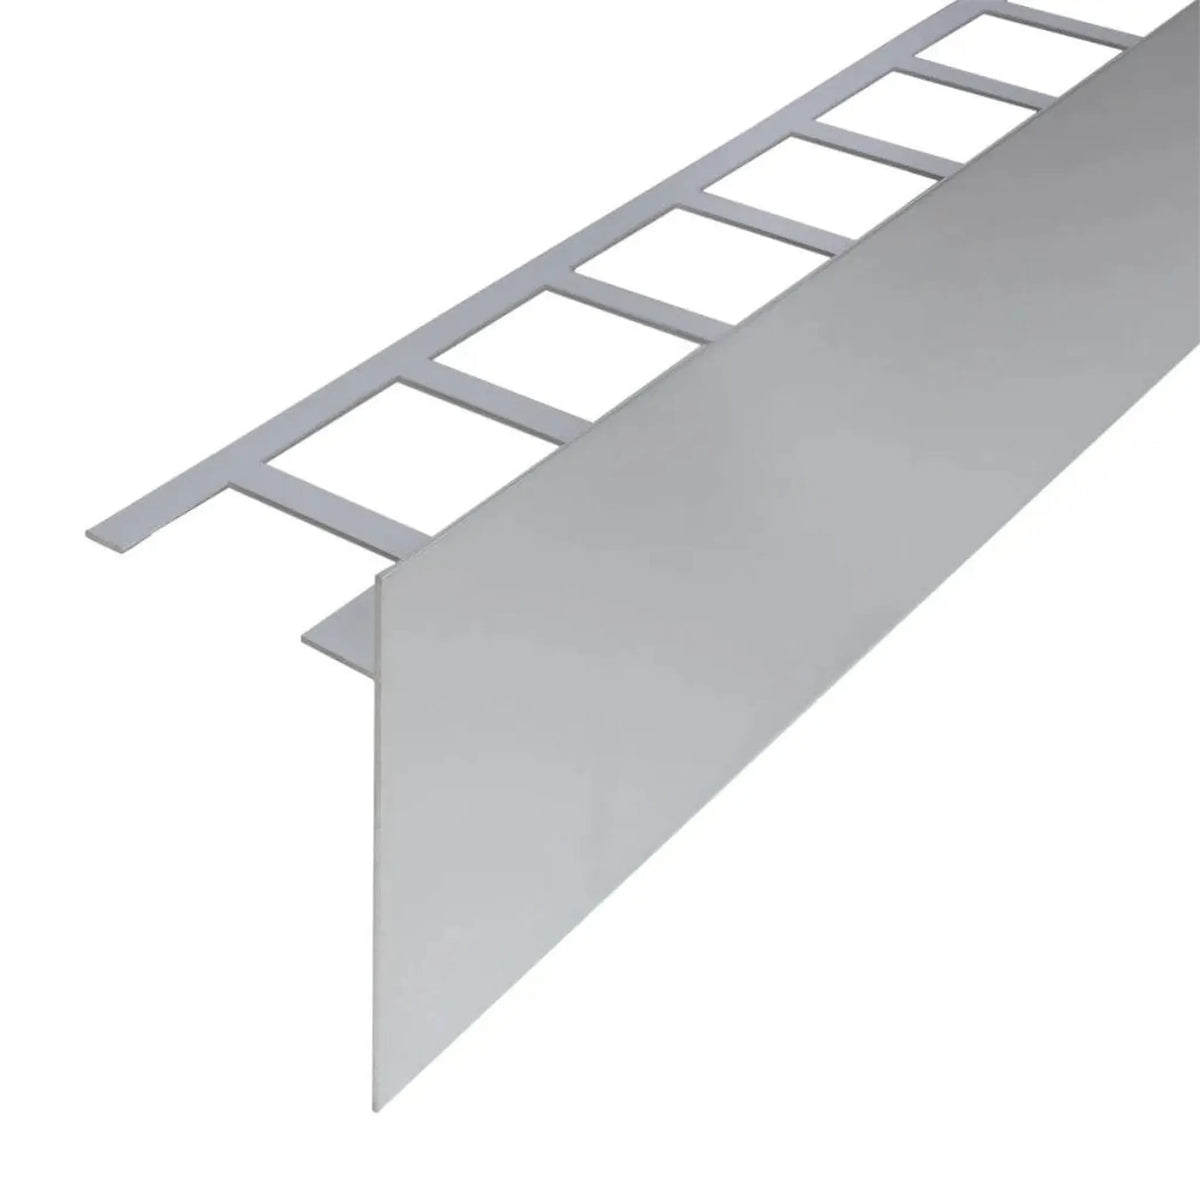
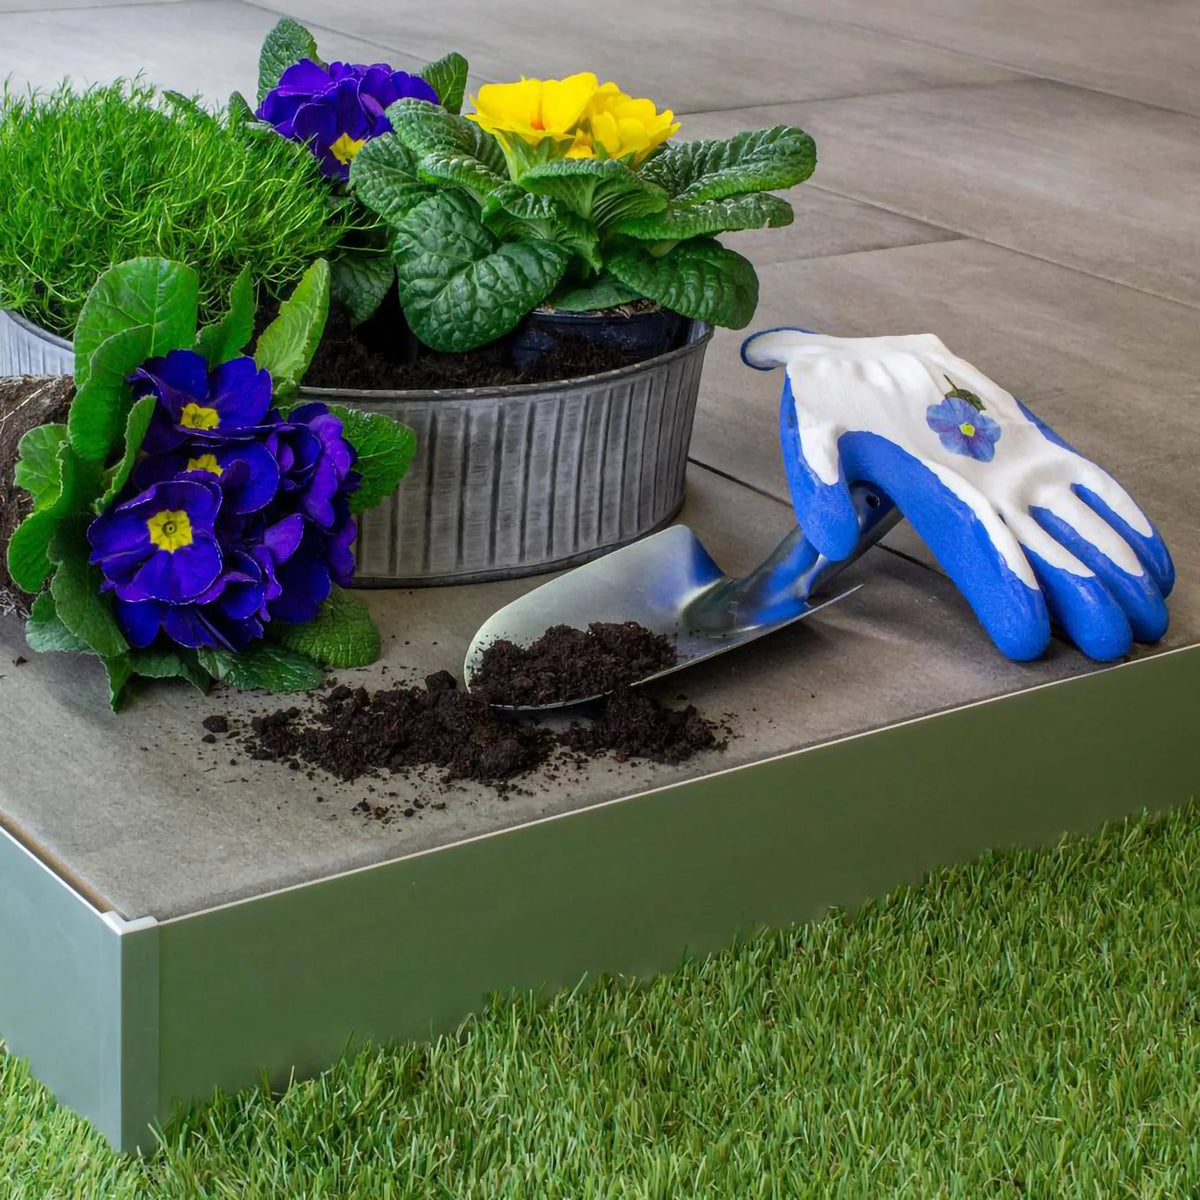
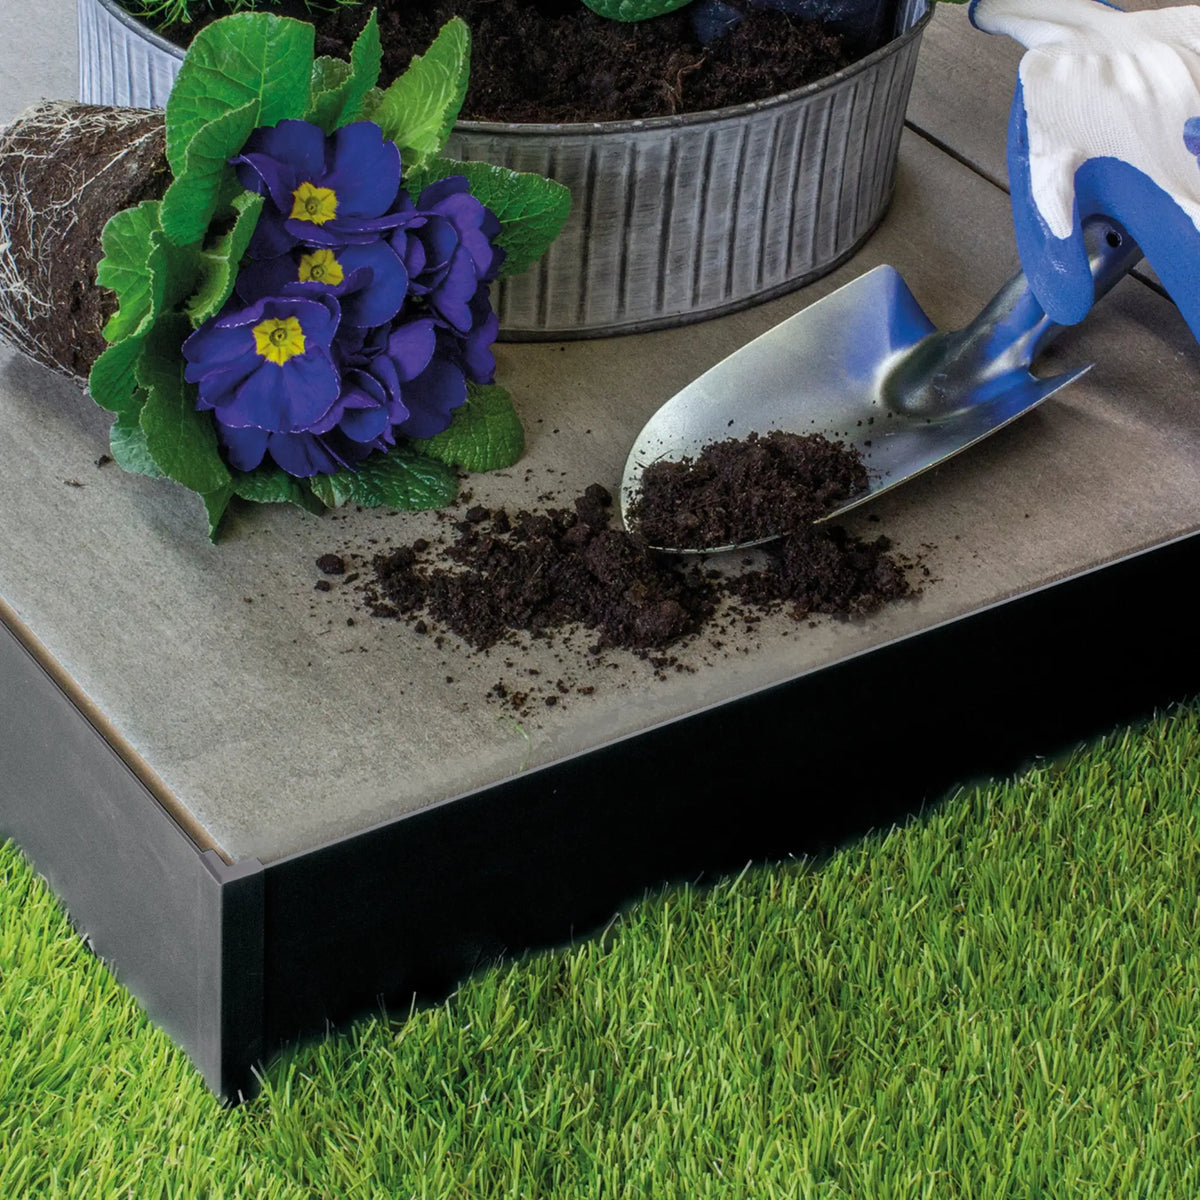
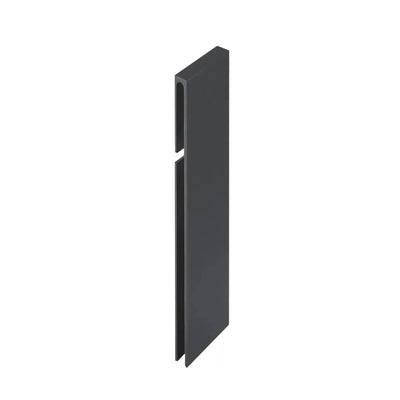
This profile is a first-class solution for finishing edge areas on balconies and terraces. It effectively protects free edges from weathering. Whether anodized in silver or powder-coated in anthracite or platinum gray, the profile adapts seamlessly to any environment and improves the overall appearance of your outdoor area.
It is made of aluminum and has a surface that offers increased corrosion protection - ideal for outdoor use. These profiles are specially designed for our paving pedestals (MB or BA), but it is also possible to screw the balcony angle profile T-shape or to embed the leg in glue.
The balcony profile with T-shape has a constant height for the structure of 2 cm, while the covering construction will be covered downwards from 2 to 10 cm (depending on the variant chosen).
Of course you can order the appropriate accessories directly from us. For more and differently shaped balcony profiles, just look in our category of the same name.
| Material | Aluminum |
|---|---|
| Material thickness | approx. 1.8 mm |
| Surfaces |
|
| Covering height | 20 mm |
| Length | 300 cm |
| Support leg | 80 mm |
| Cladding downwards | 20 to 100 mm |
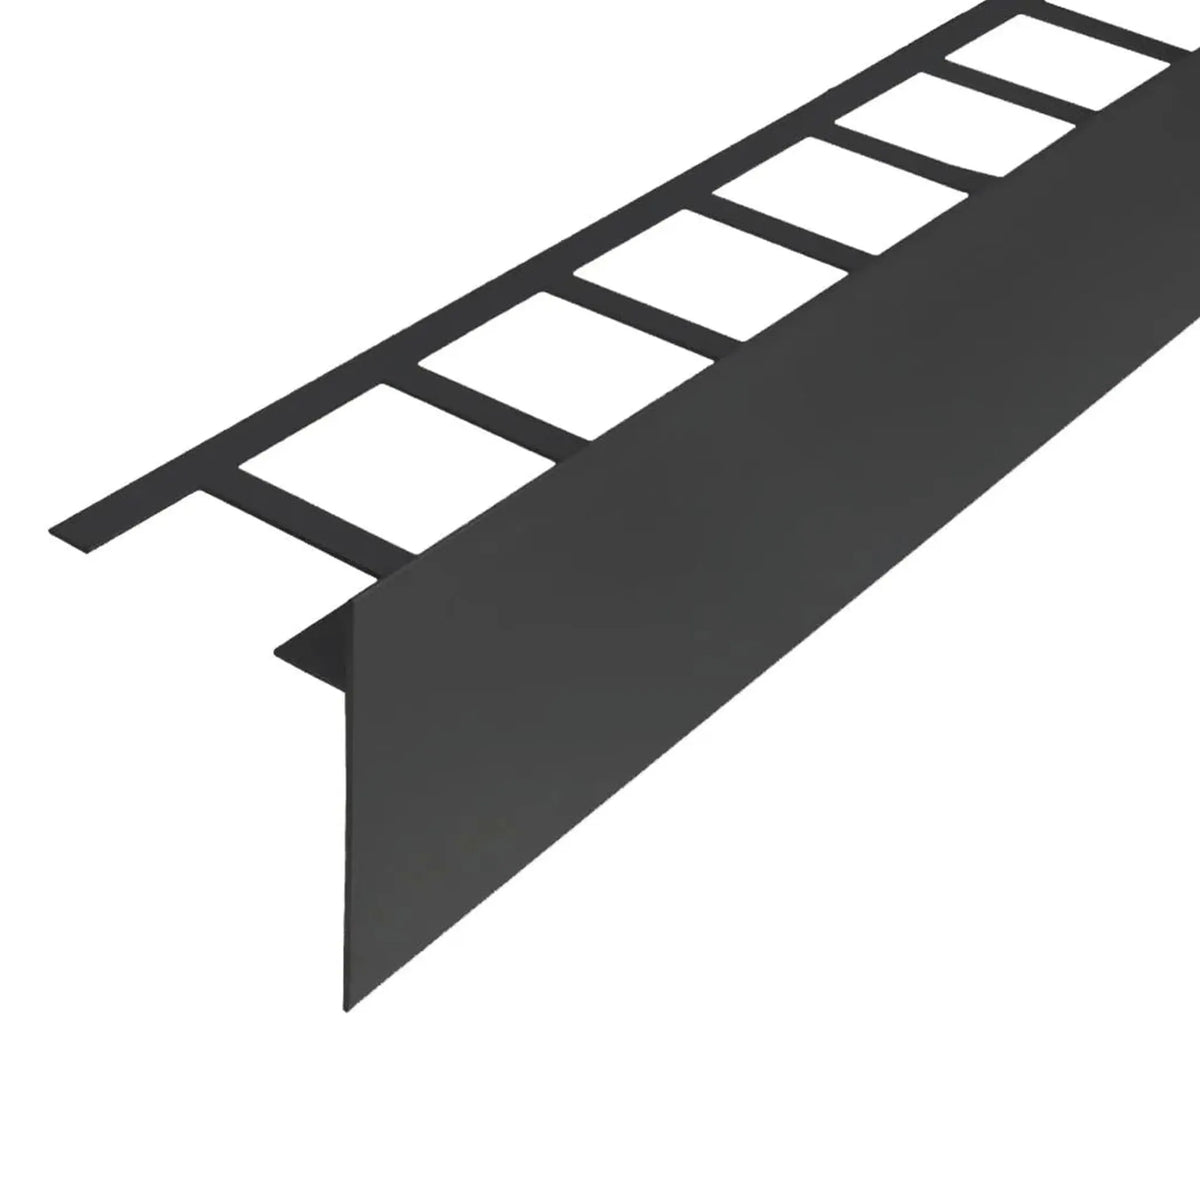
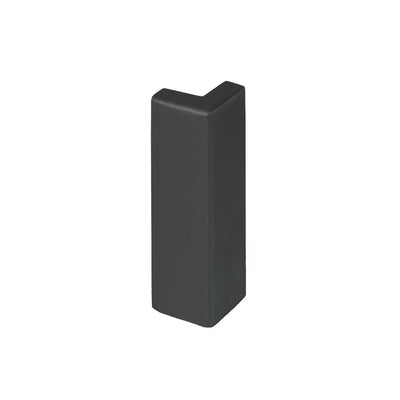
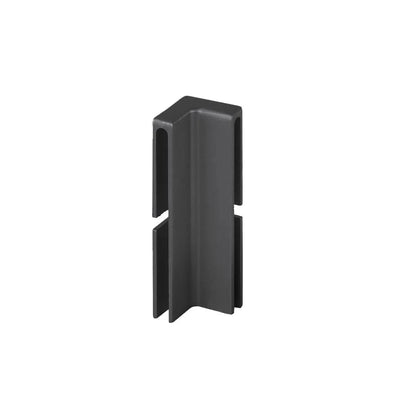
The profiles can generally be shortened using the appropriate tools, and butt-jointed profiles are joined using the matching connector.
There are of course also matching shaped parts for connecting in the corner area. The accessories are pushed into the profile using the slots provided and can also be glued if necessary.
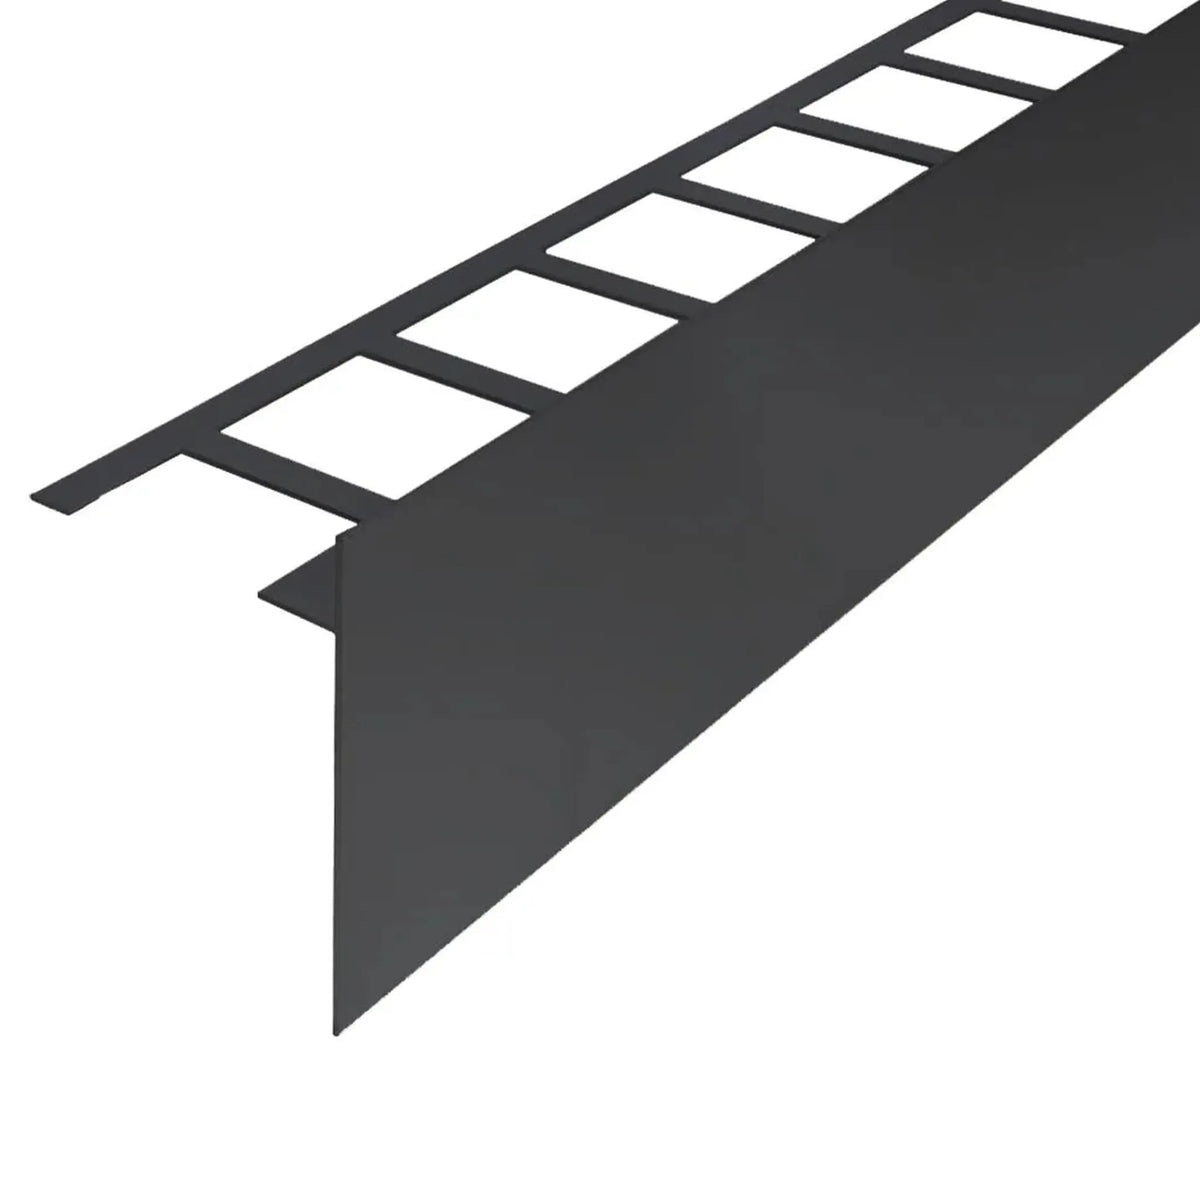
The balcony angle profile T-form was specially developed for the lateral end of our pedestals (MB or BA).
The weight of the slabs will now hold the profile in position.
Alternatively, the T-shaped balcony profile can be embedded in the tile adhesive in the same way as a normal tile edging profile.
The profile can also be used in conjunction with loosely laid tiles. The profile can also be fixed in place with screws after it has been aligned.
Ideal for creating a perfect finish for balconies and terraces, both technically and aesthetically.
By using this cover, the entire floor construction is neatly clad, effectively repelling dirt.
The balcony profile T-shape is mainly used in the design of balconies, terraces and outdoor edging.Also perfect for our pedestal supports (MB / BA).
For optimum care of the profile, we recommend wiping it regularly with a neutral cleaning agent to keep the T-shaped balcony angle profile in the best condition and ensure the usual quality in the long term.
DURAL GmbH
Südring 11
56412 Ruppach-Goldhausen – Germany
E-Mail: info@dural.de